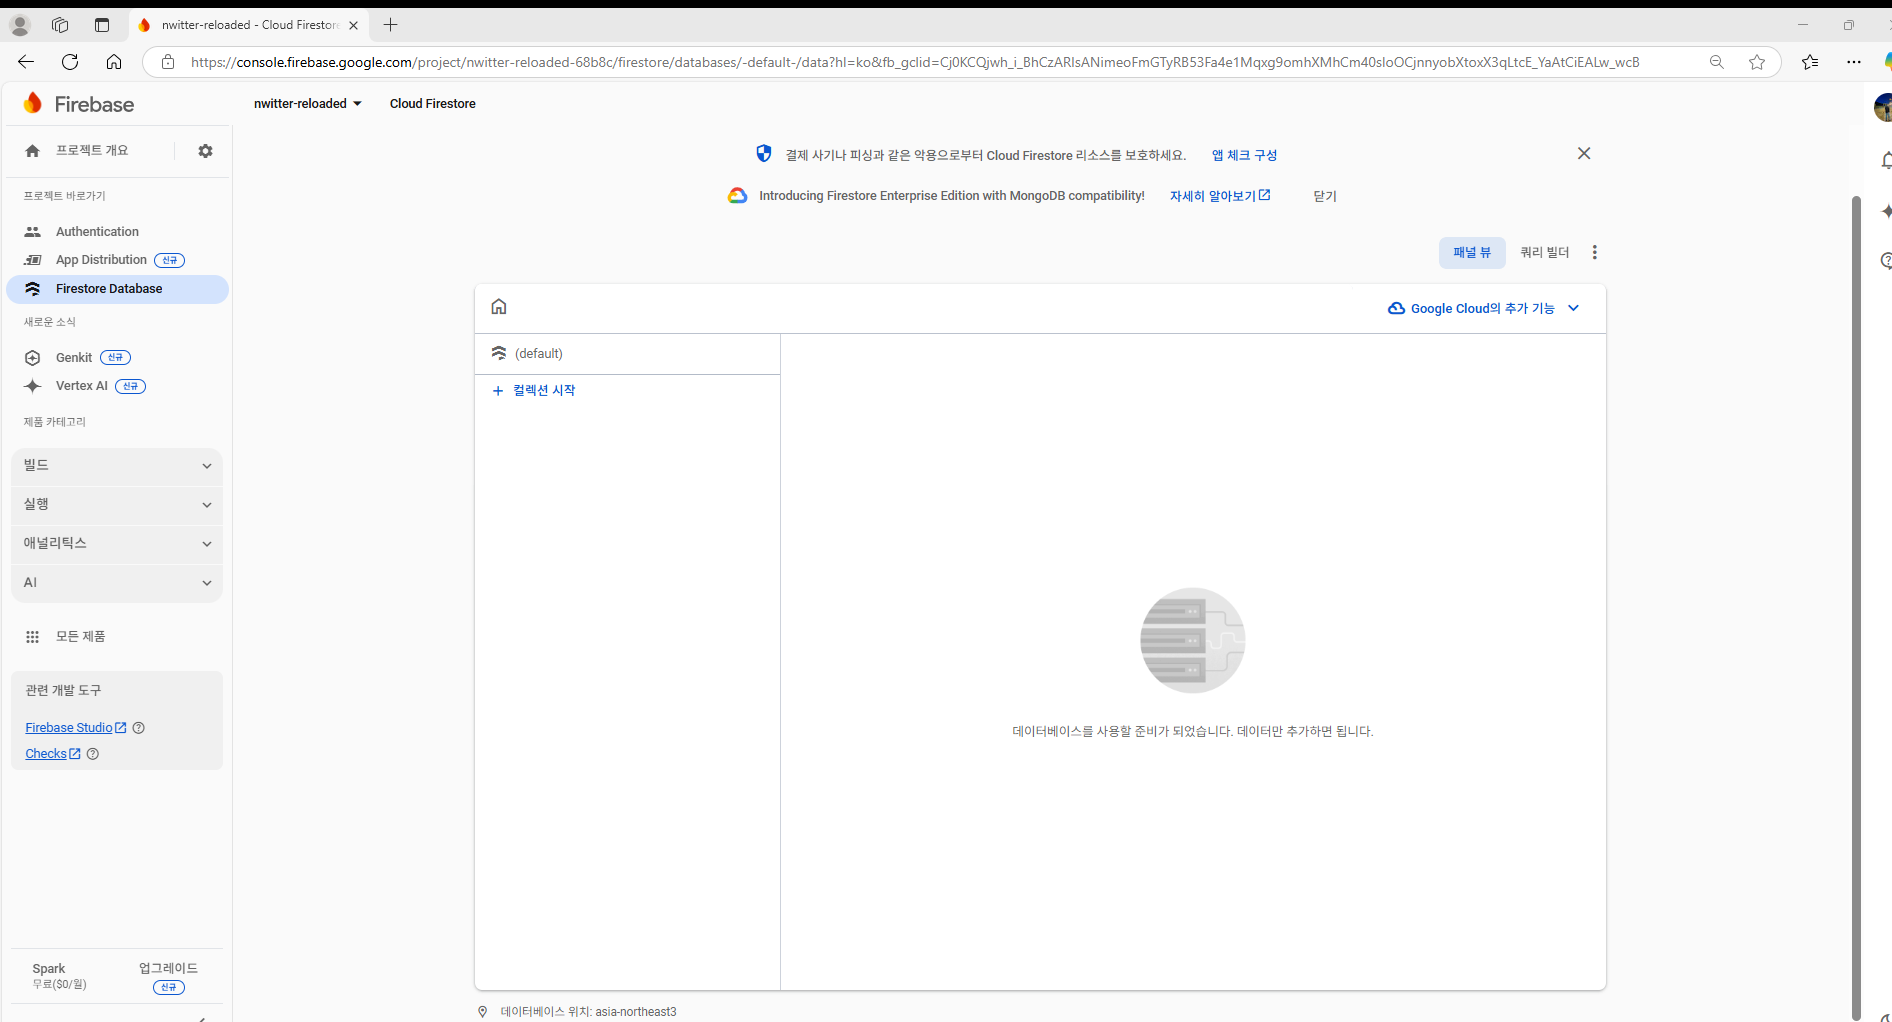
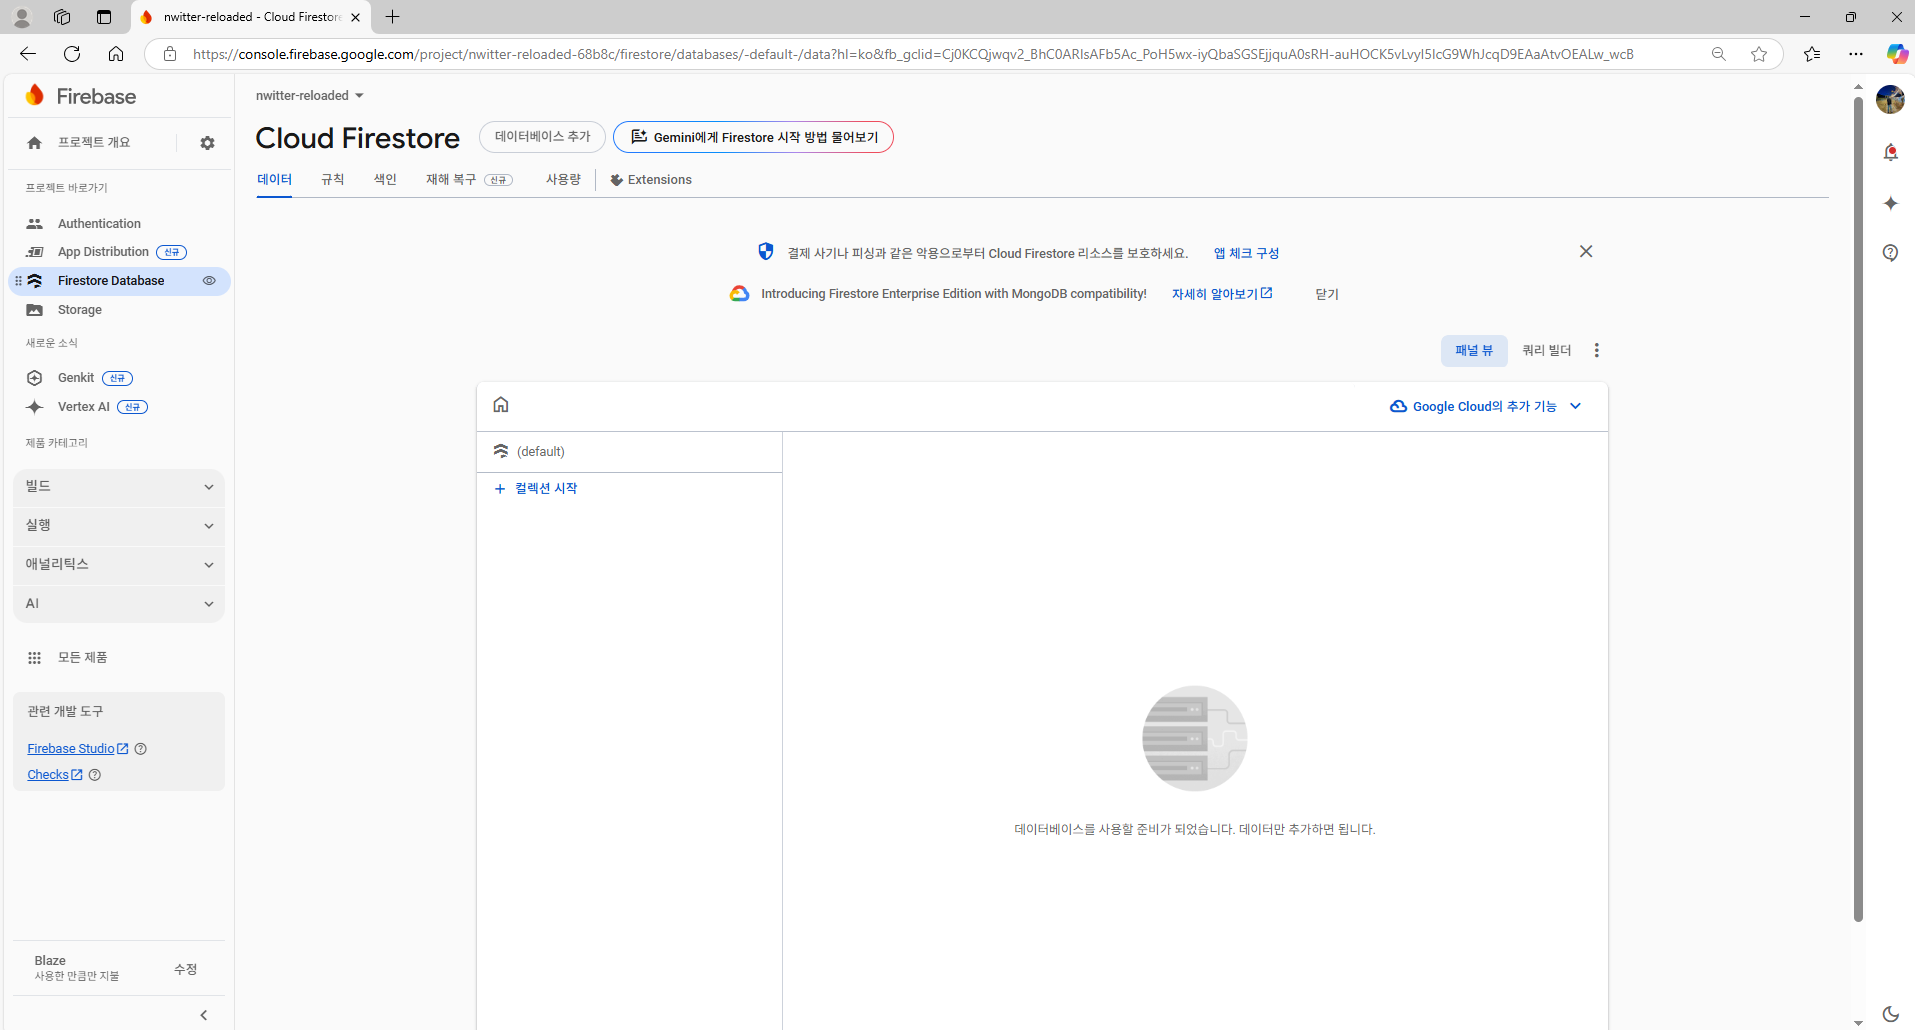
Cloud Firestore은 사용할 NoSQL 데이터베이스이다.
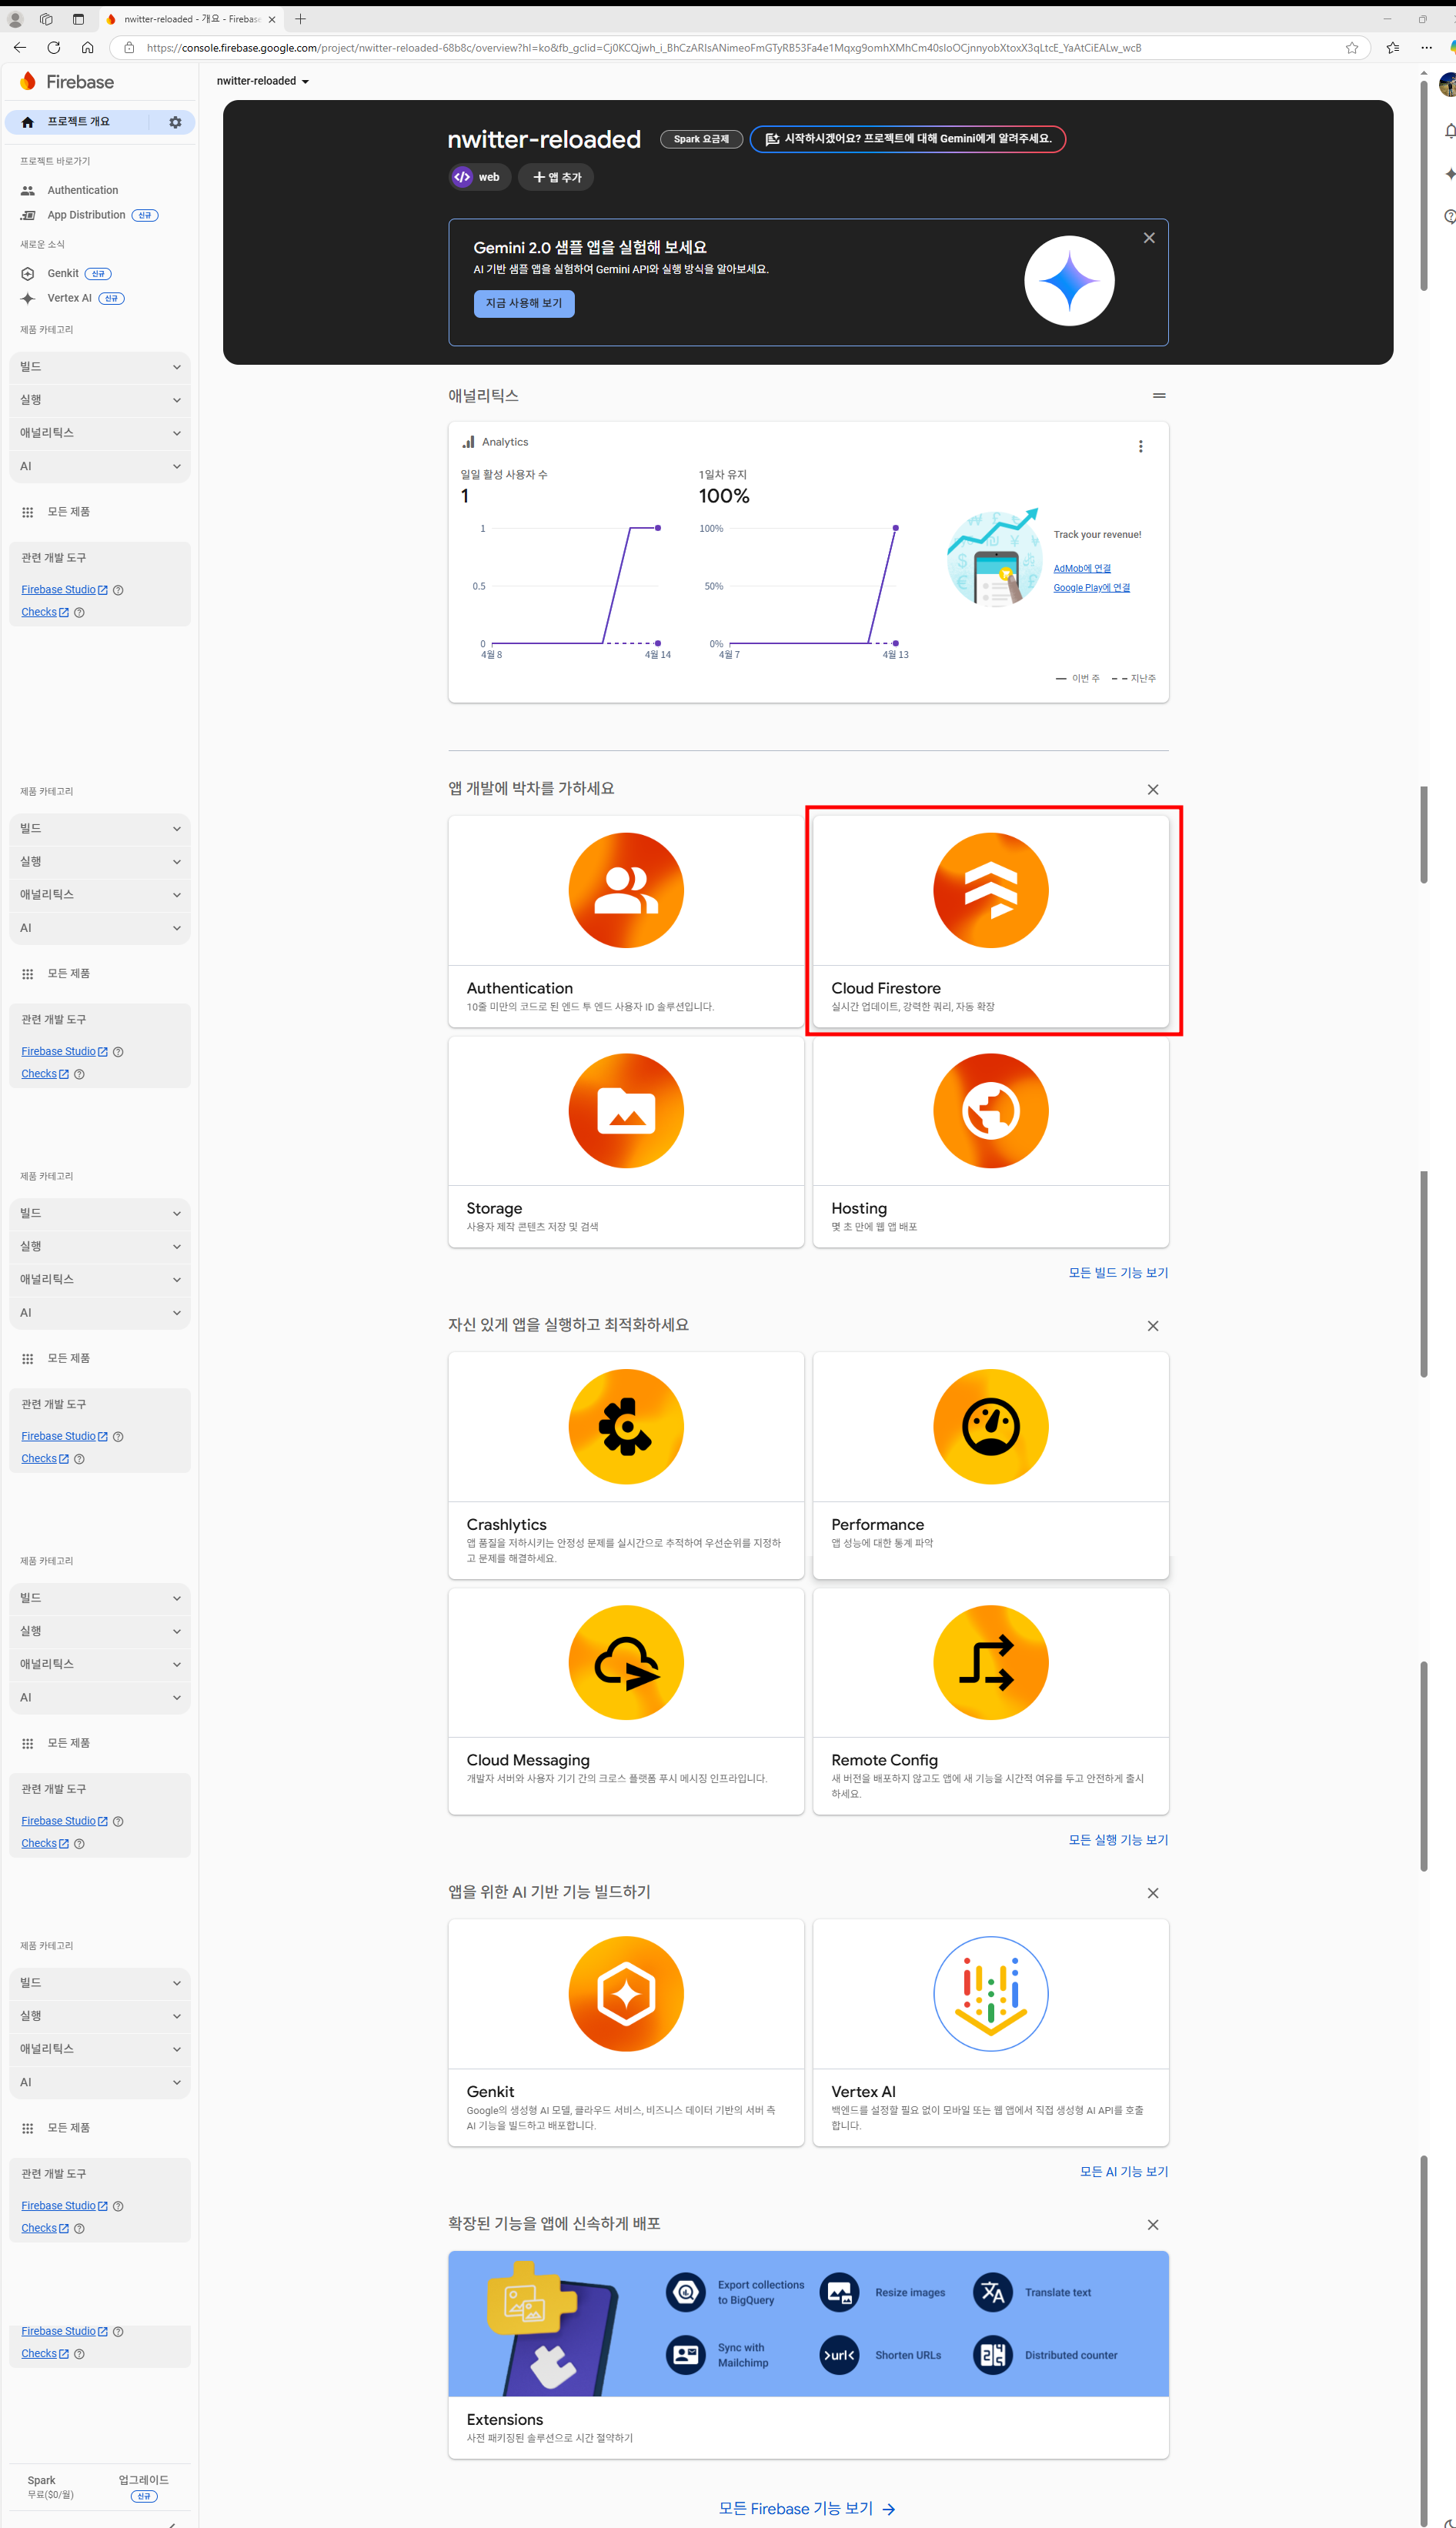
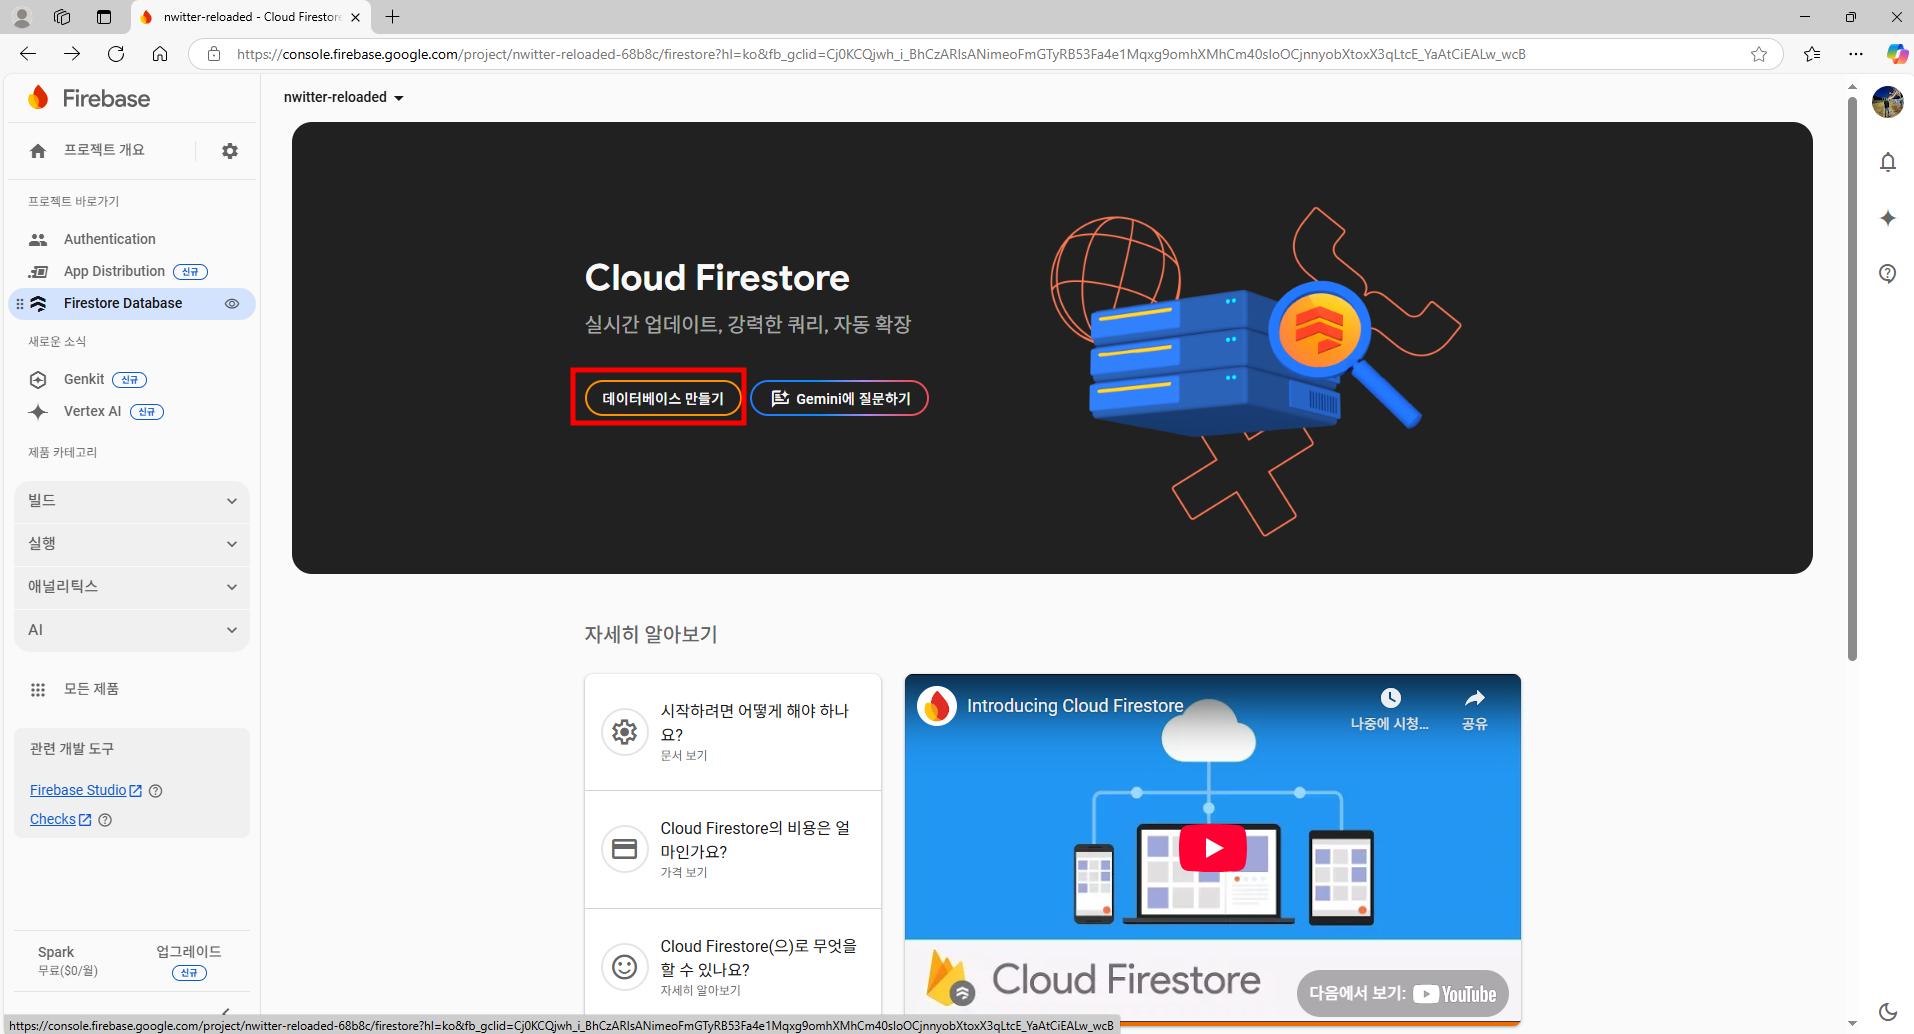
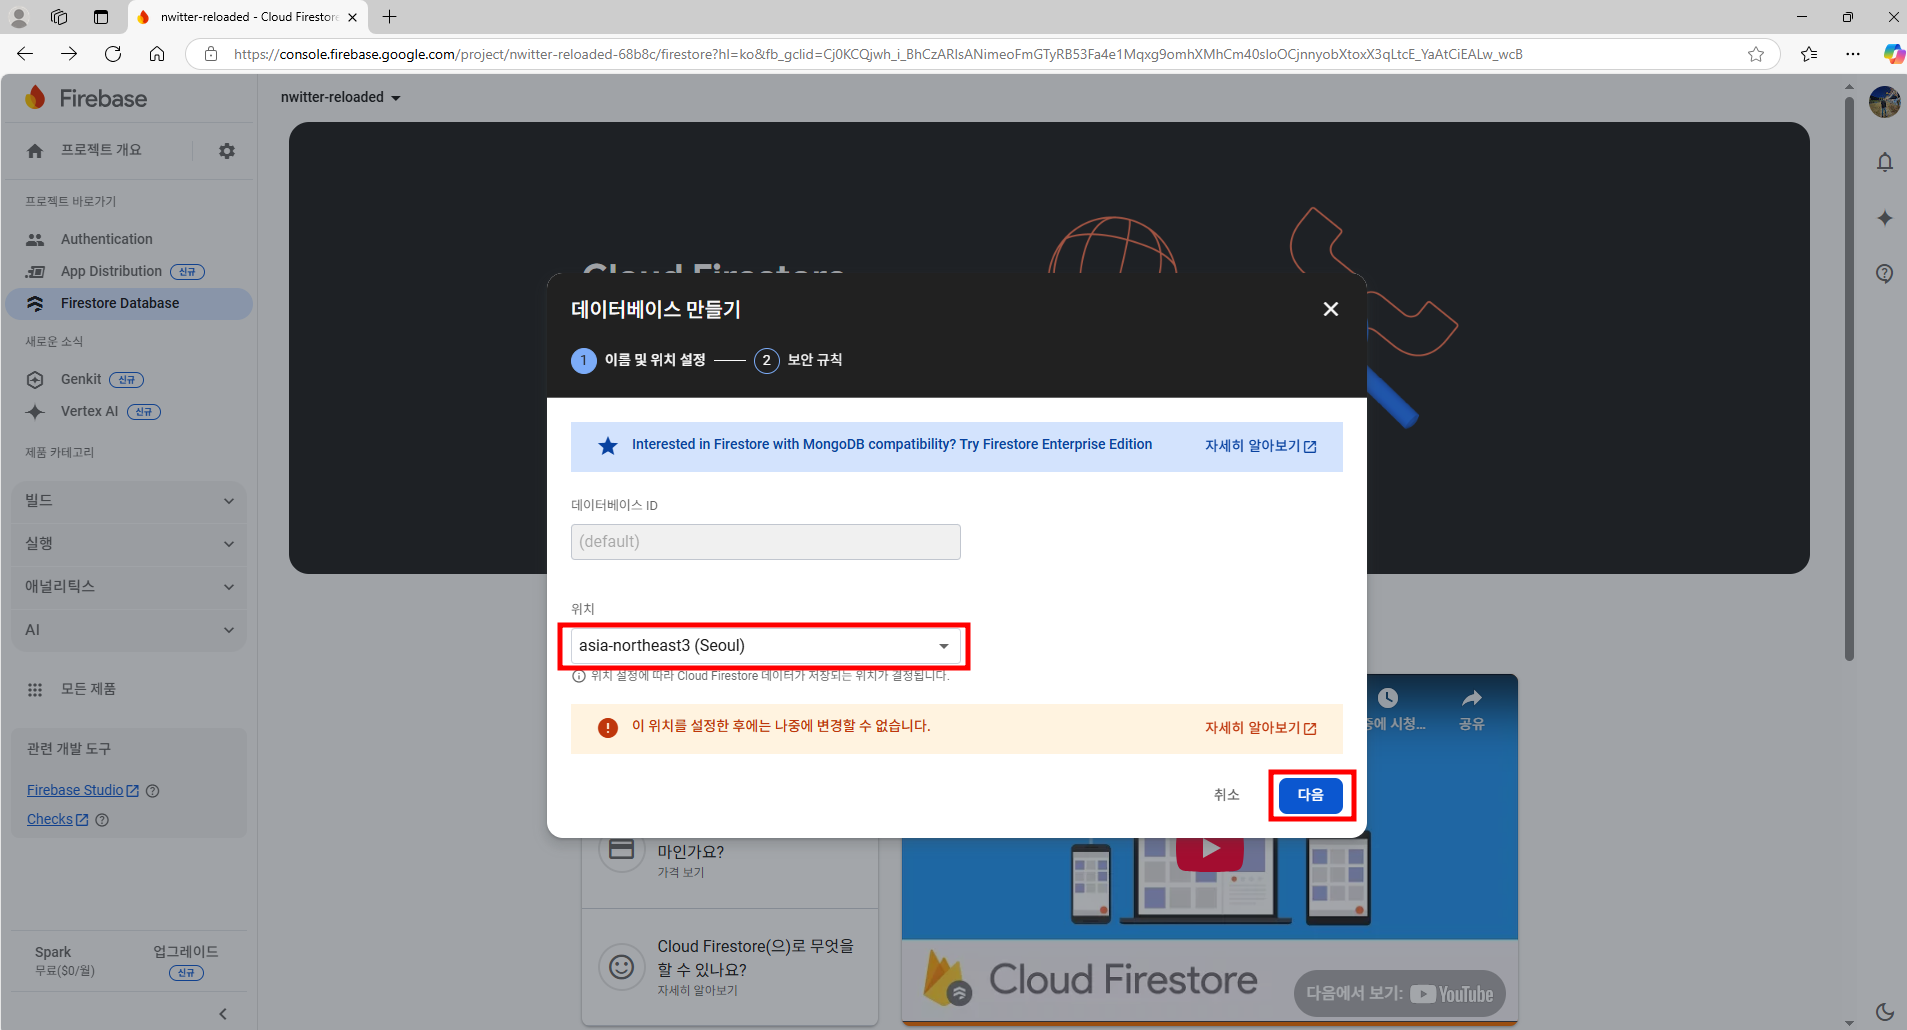
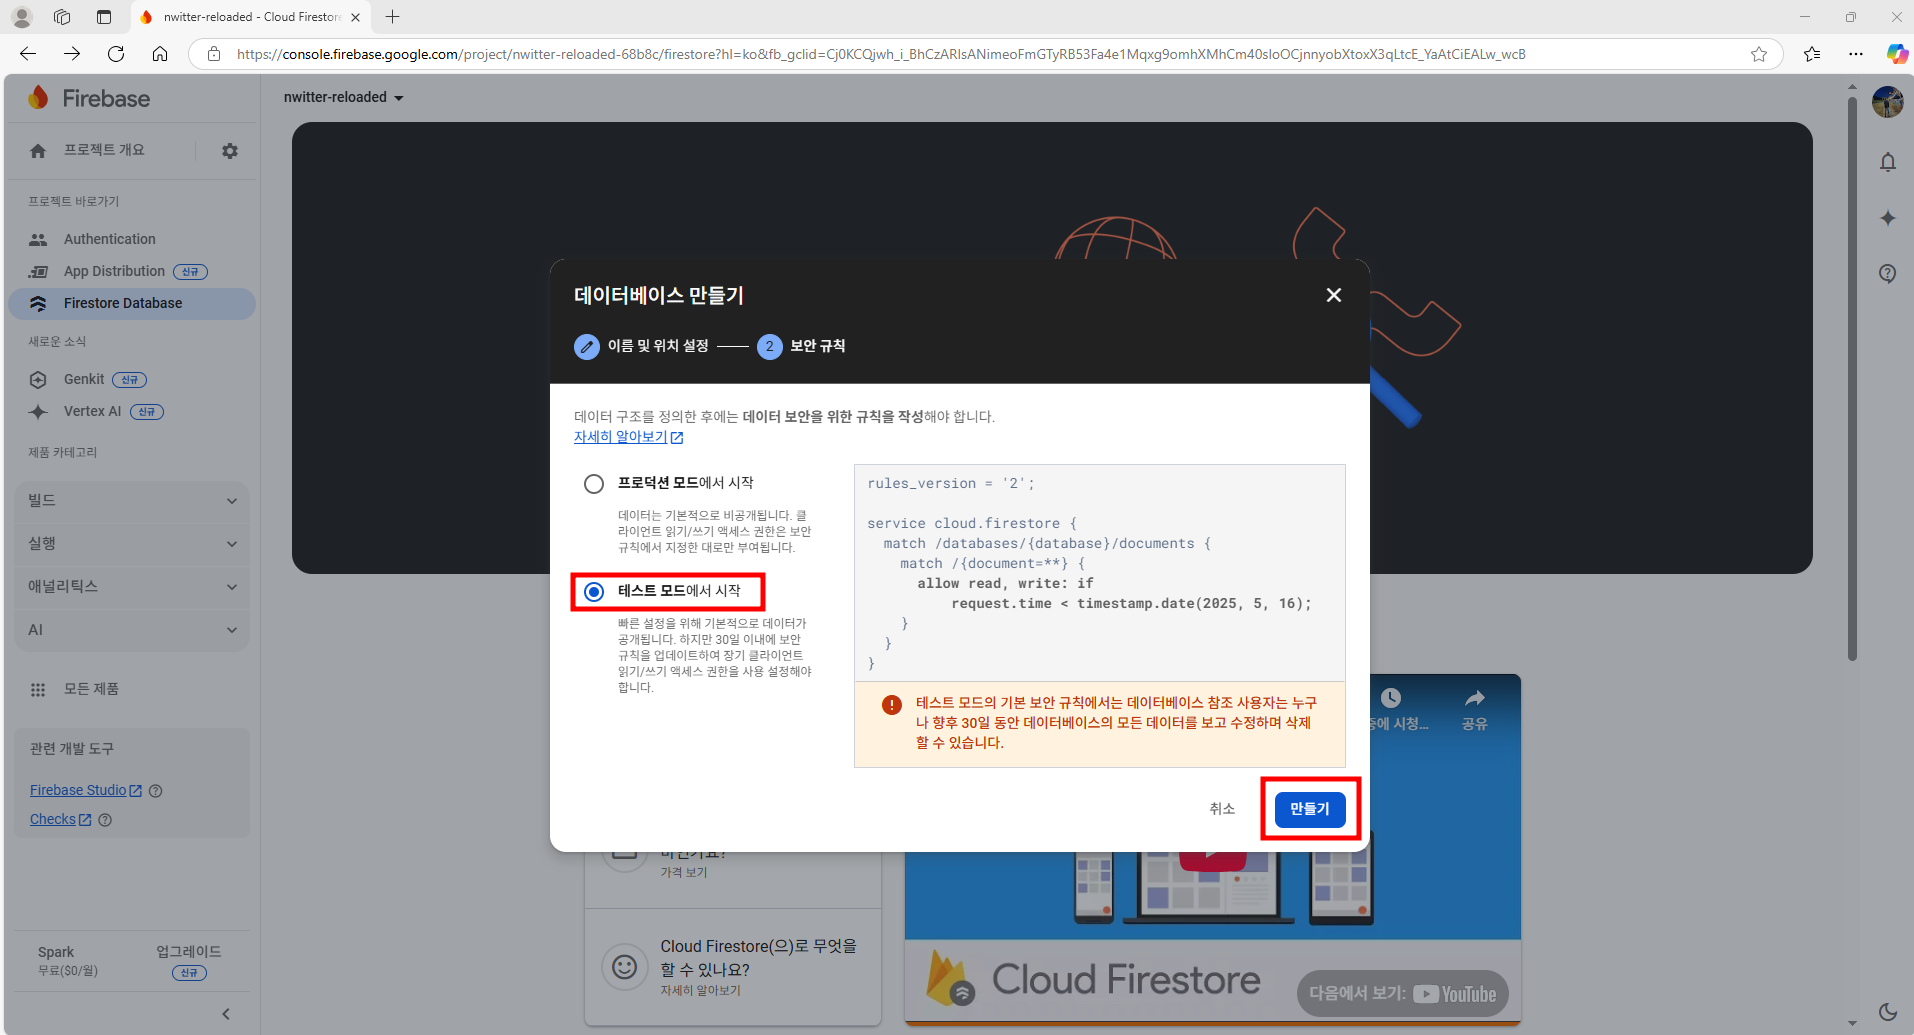
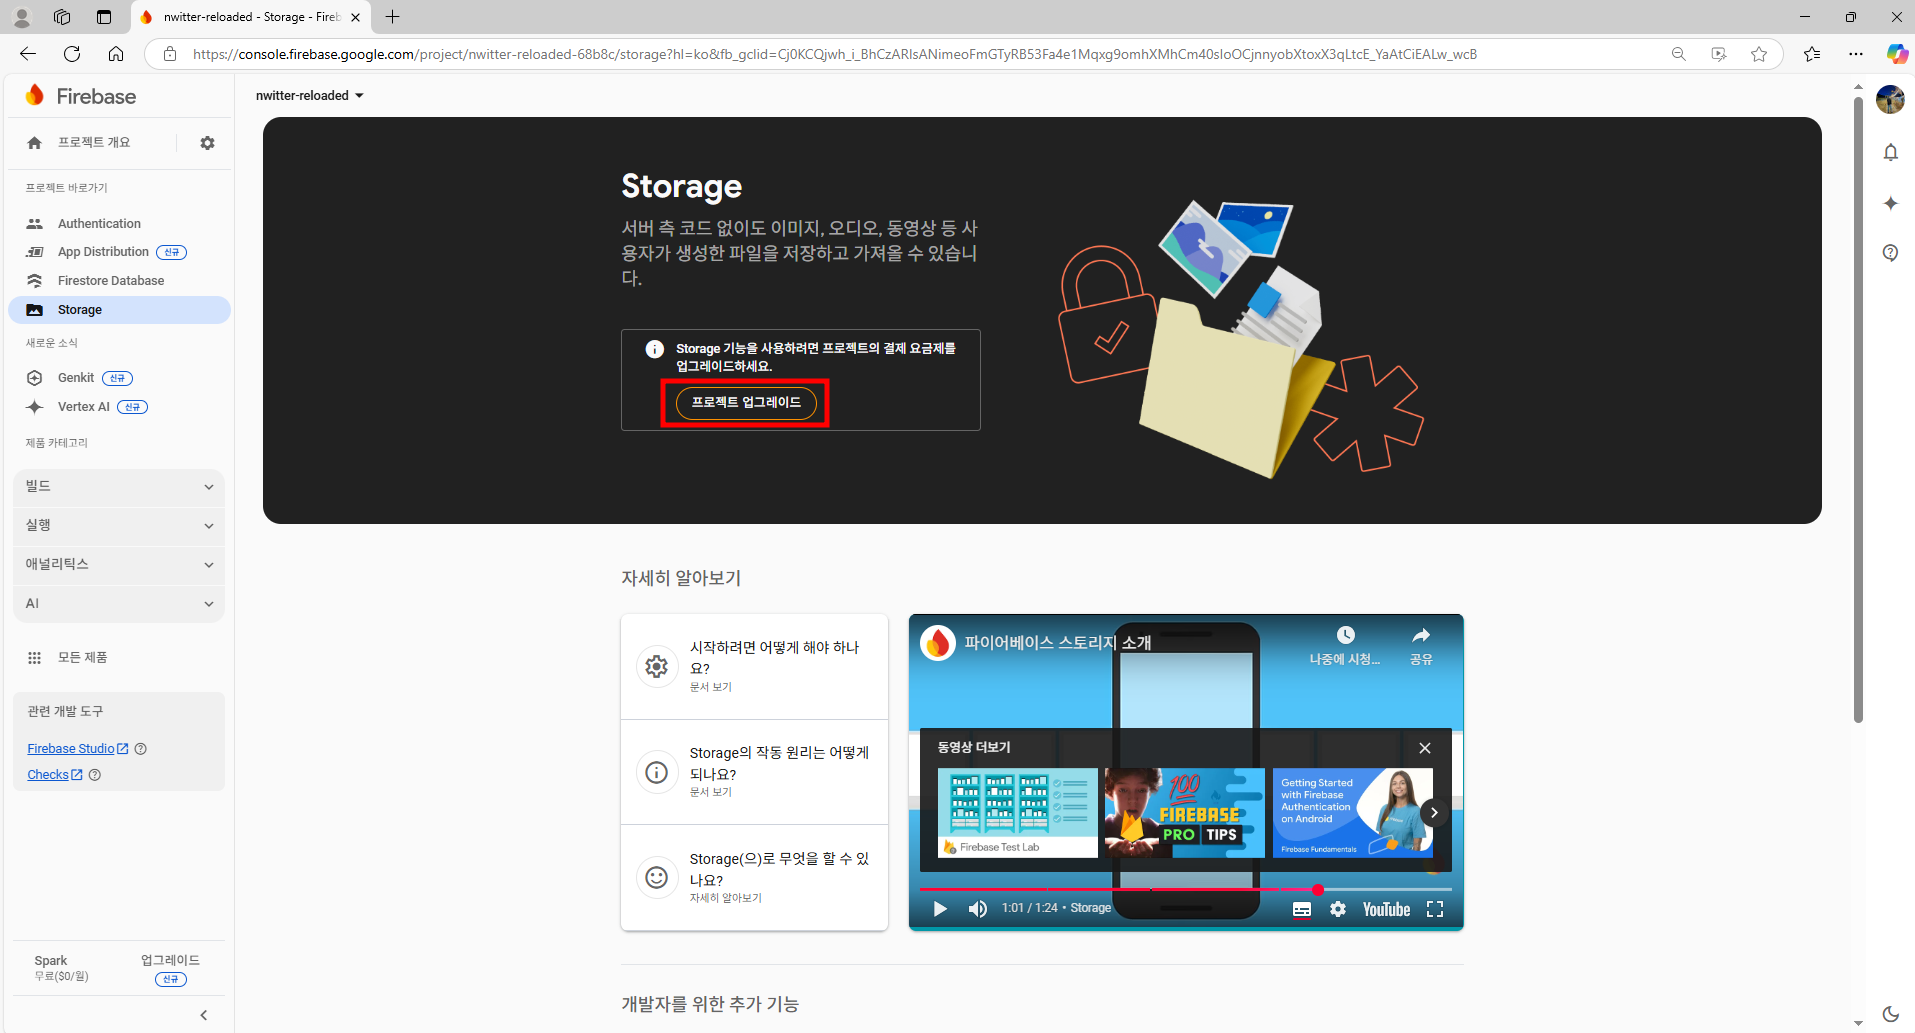
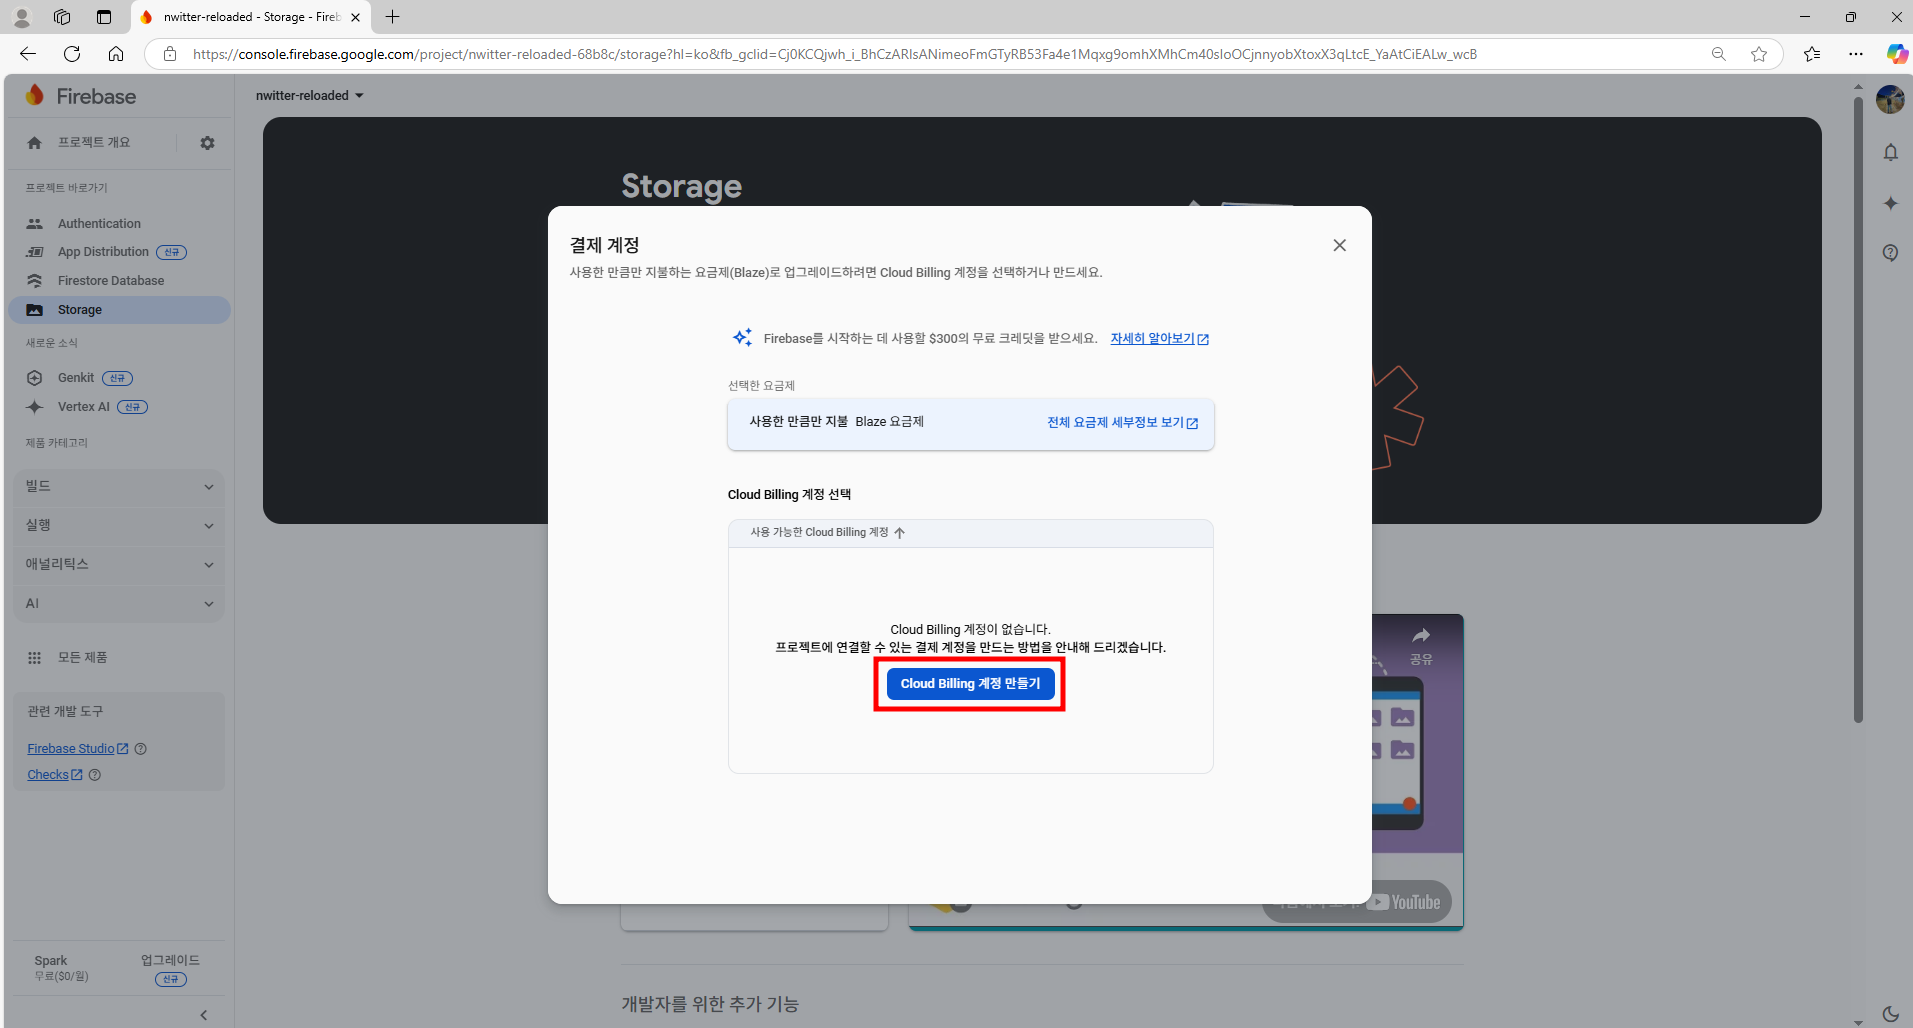
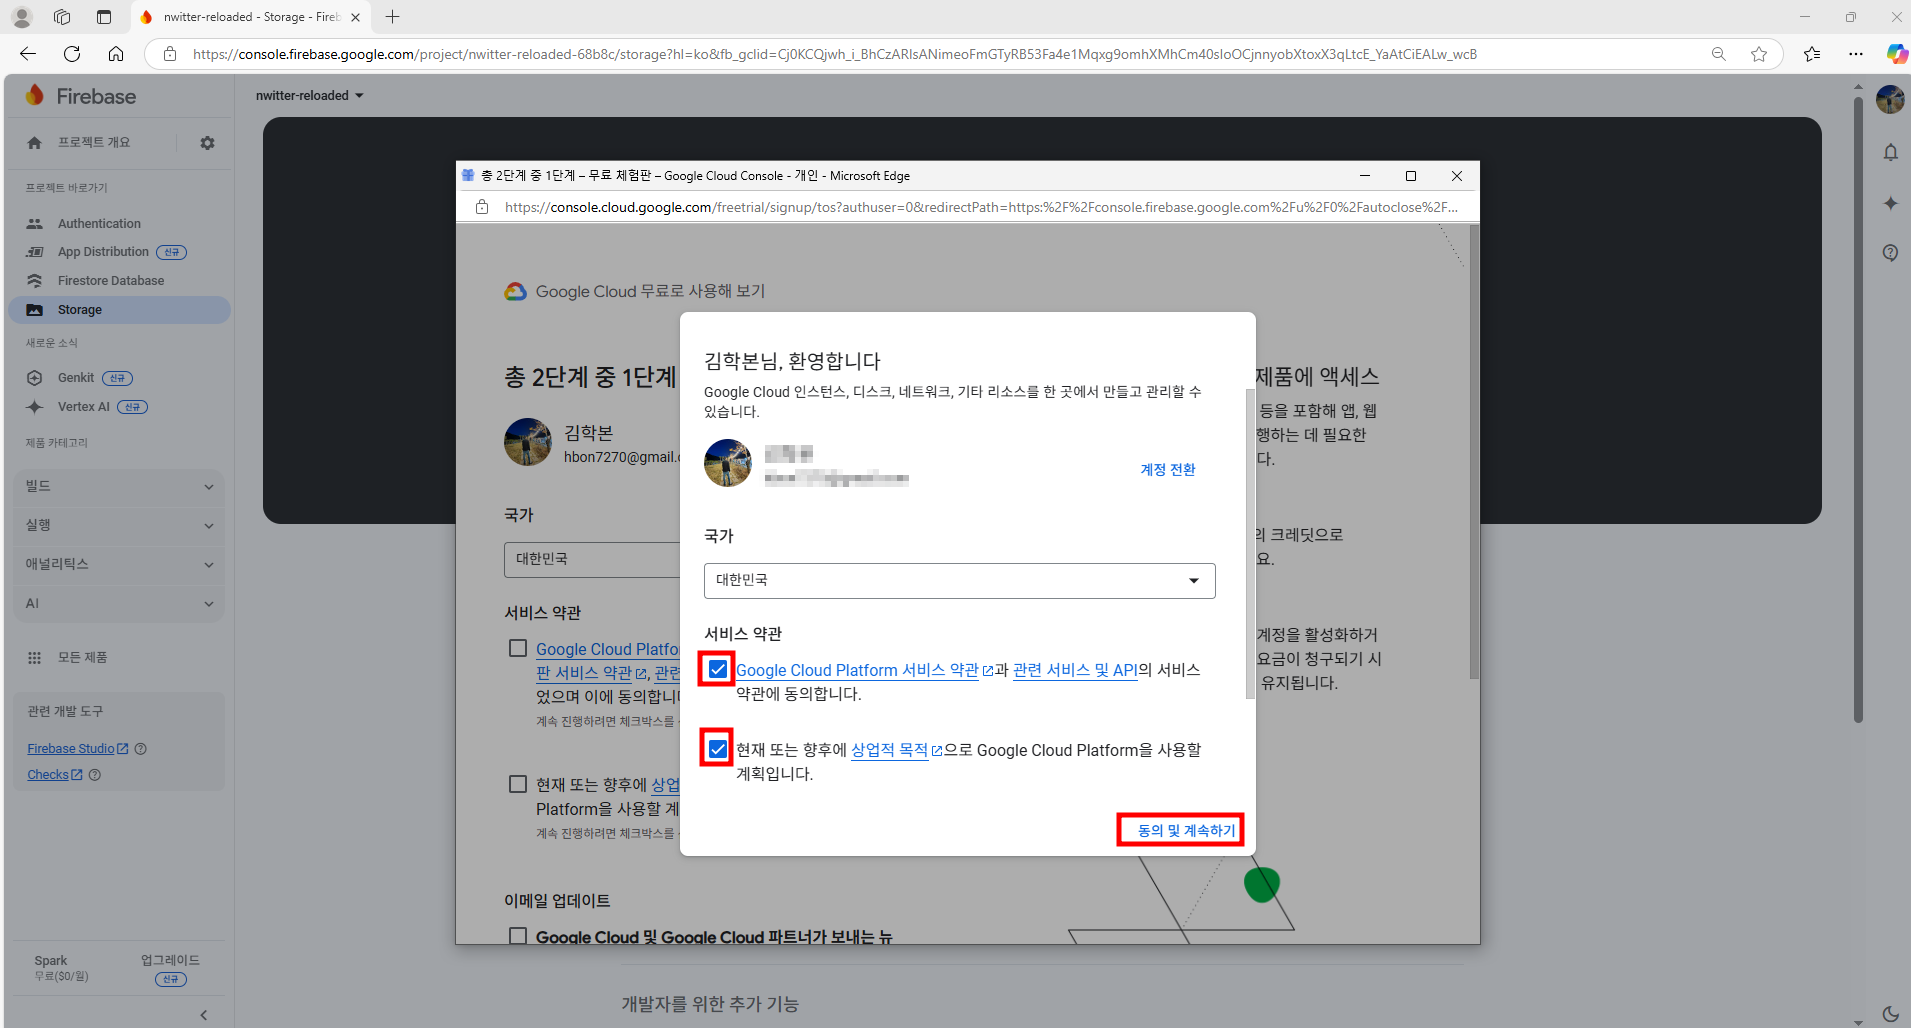
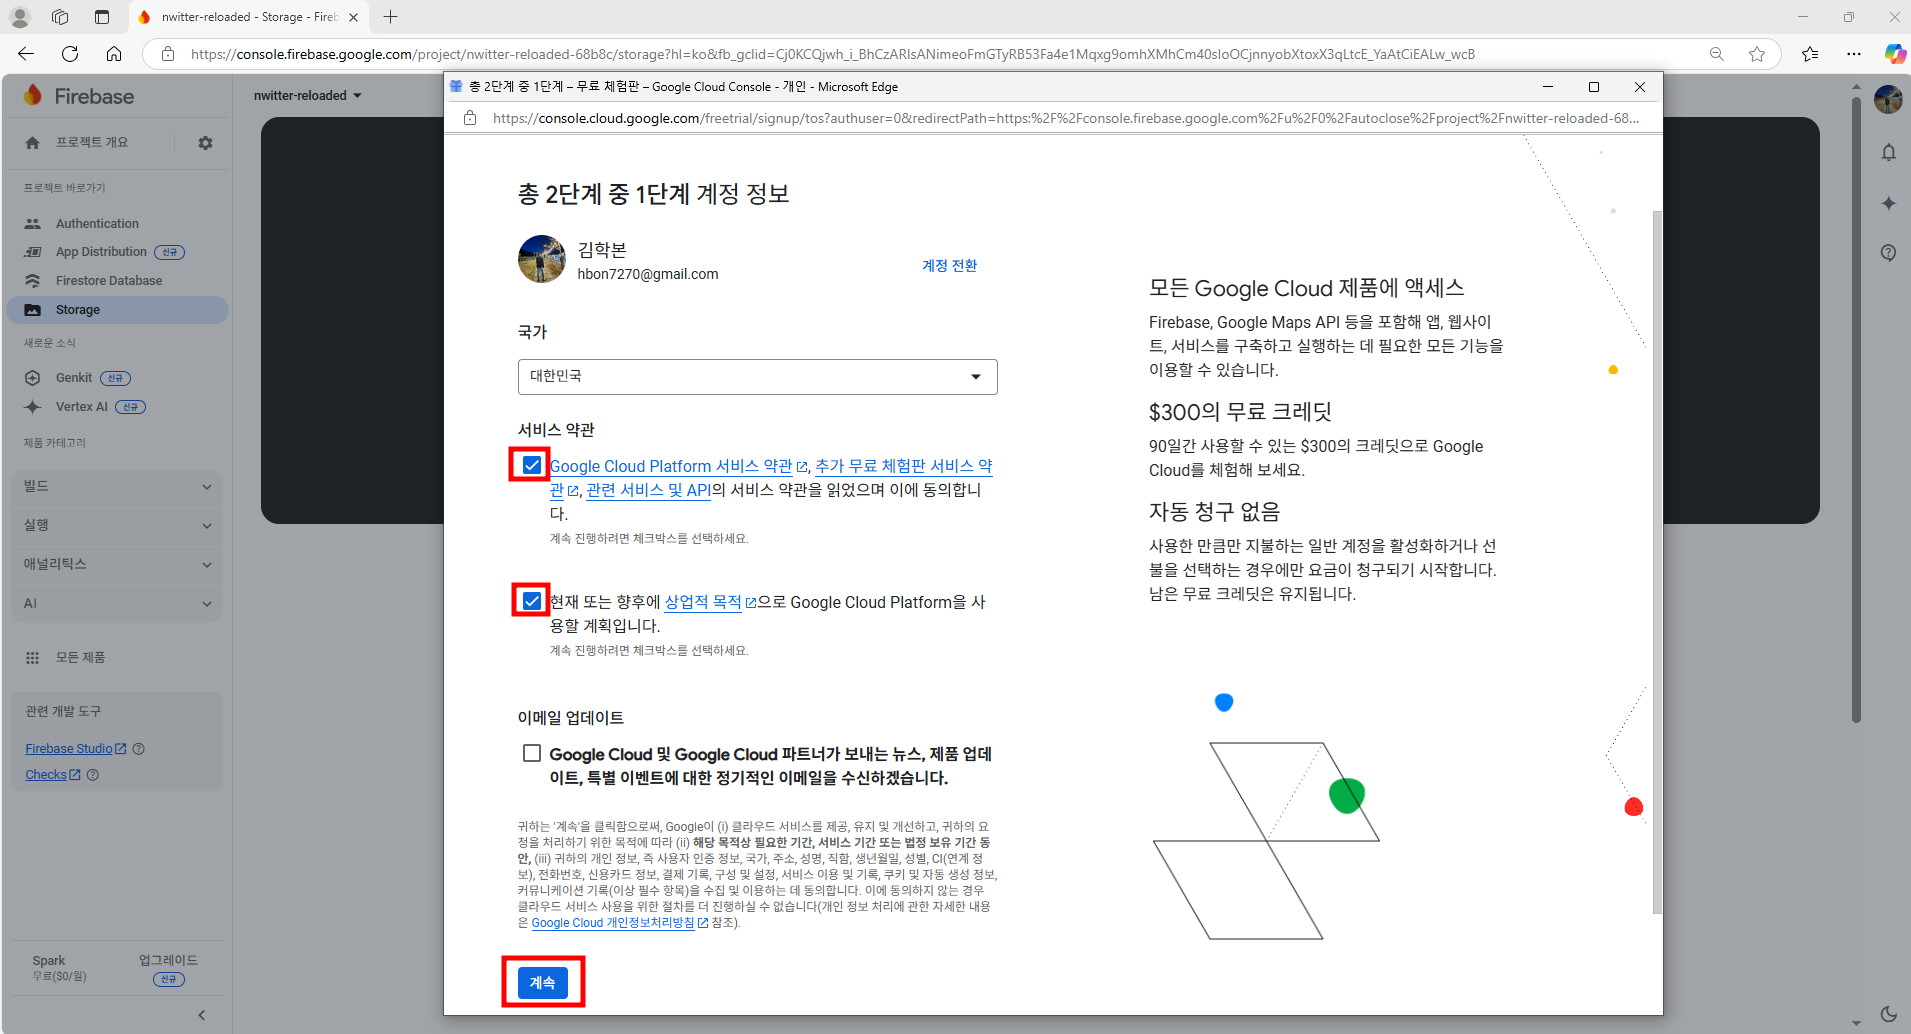
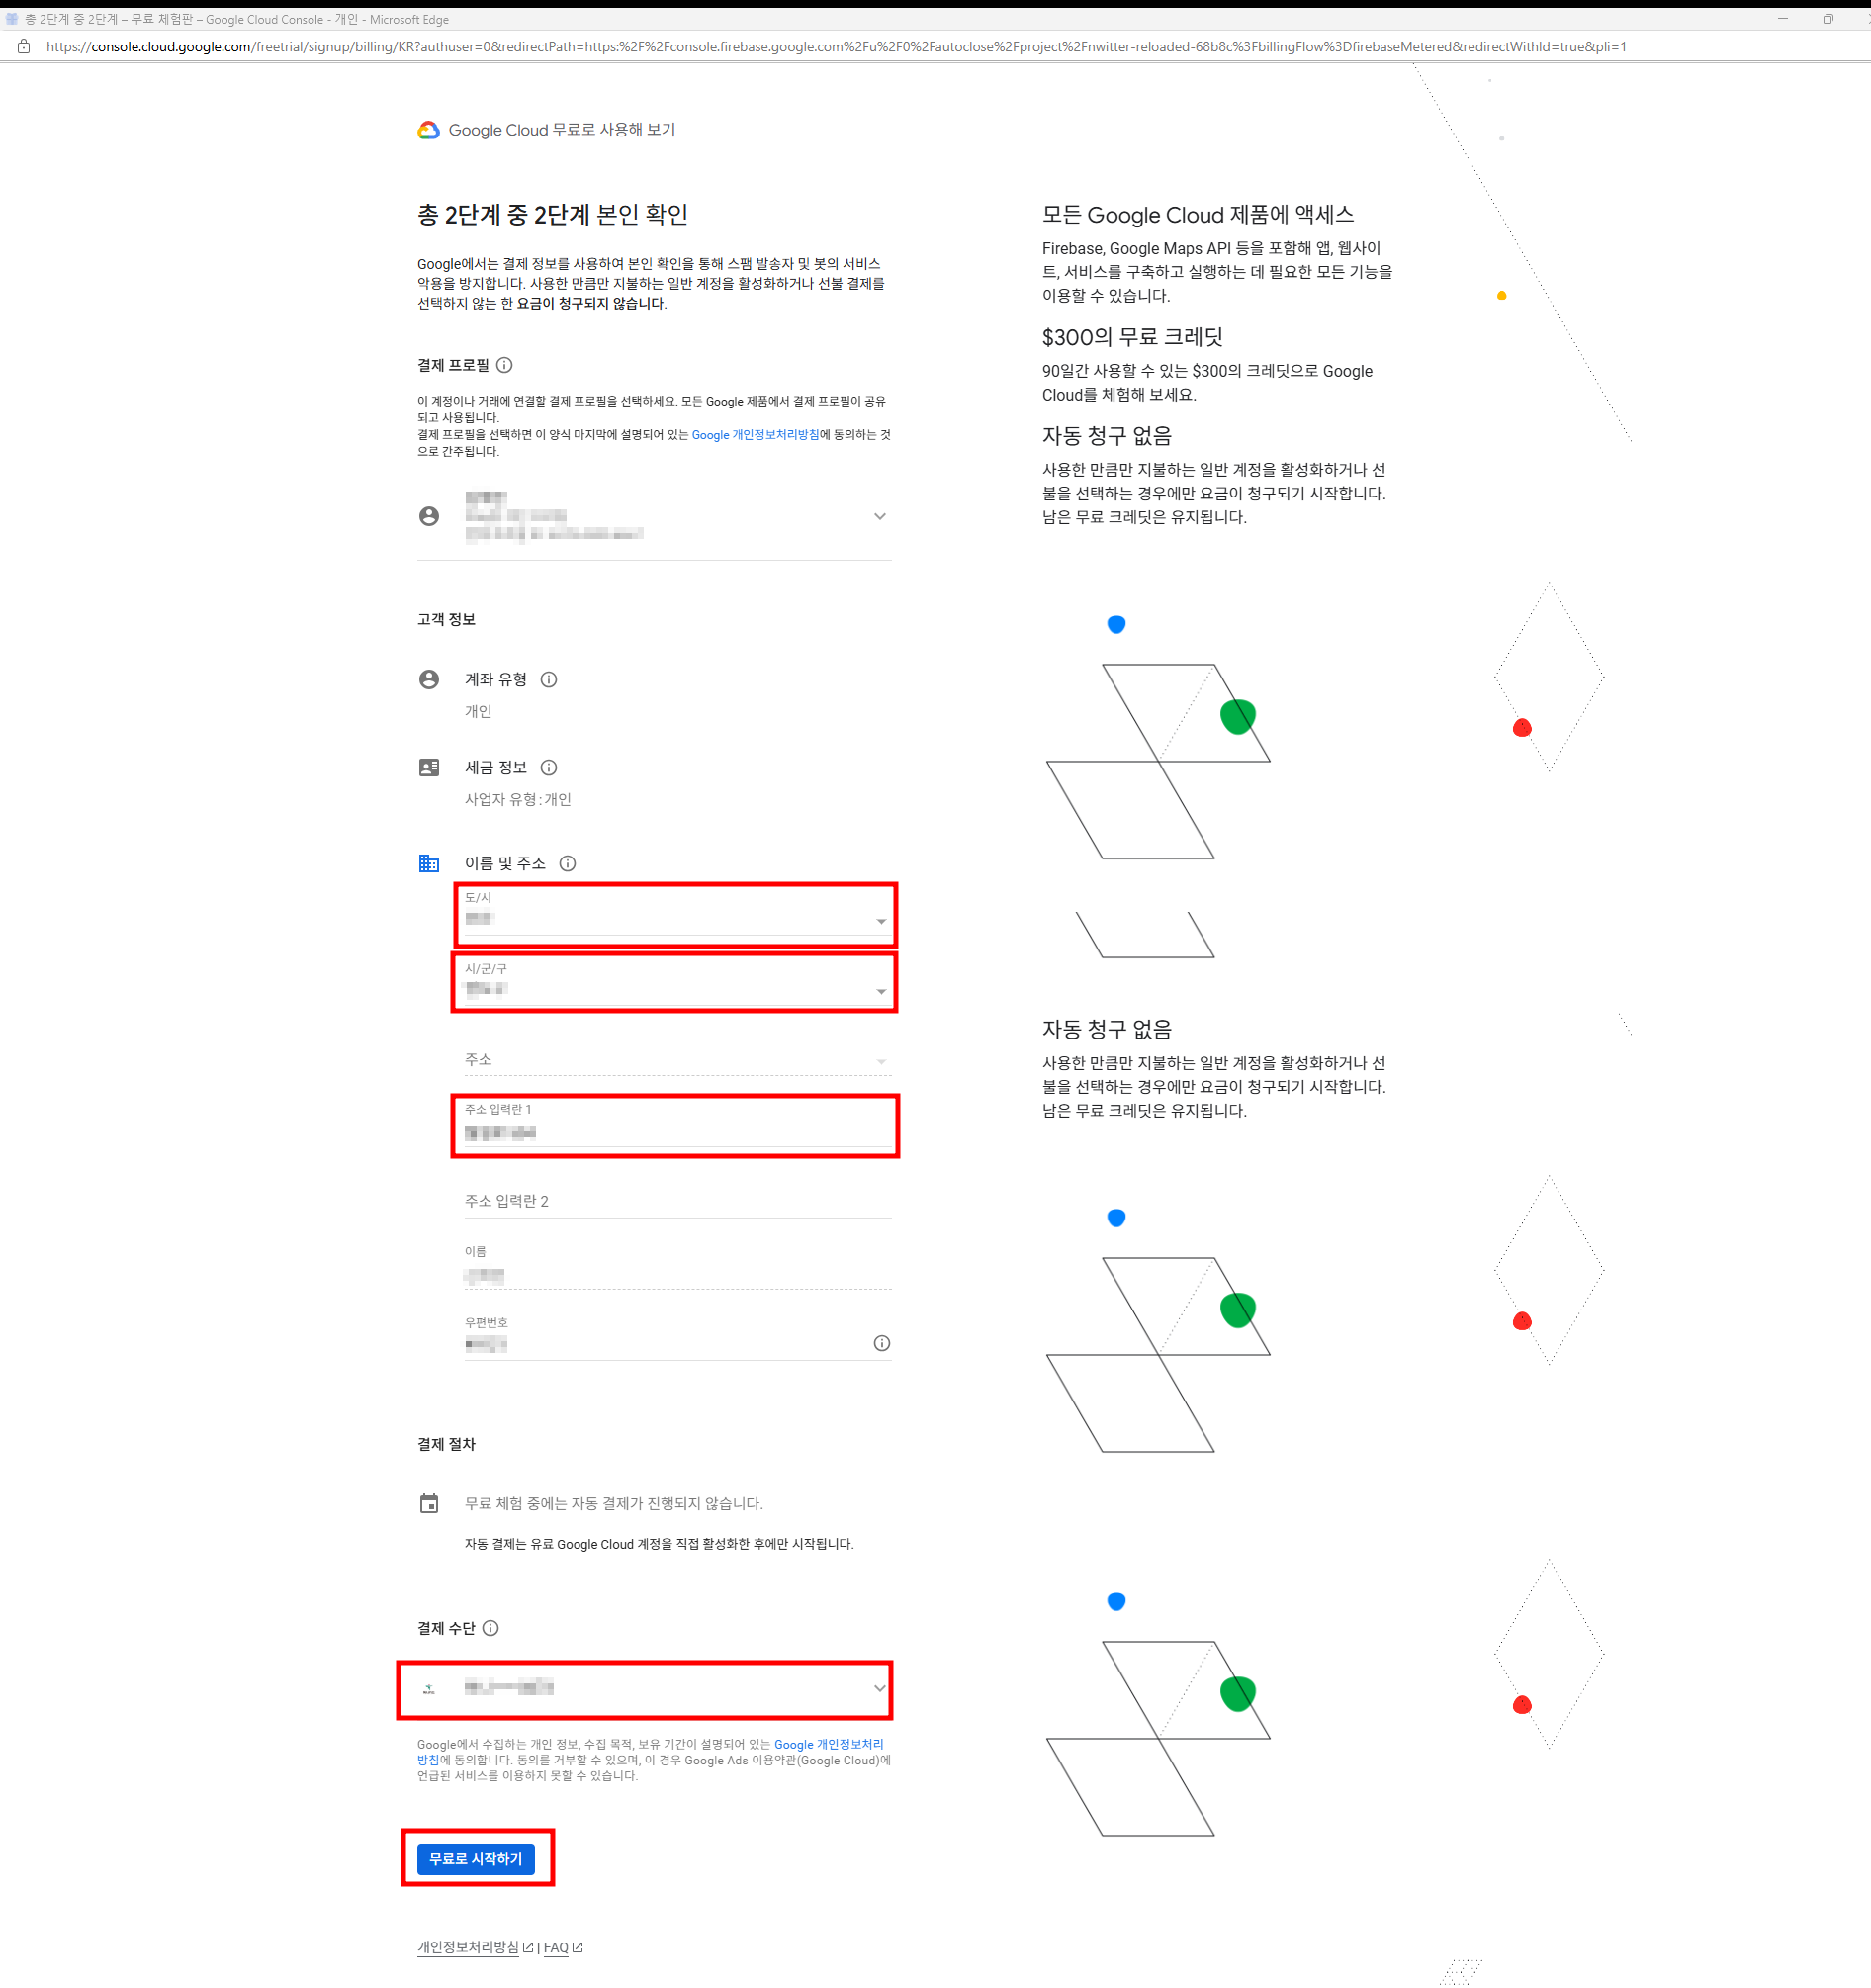
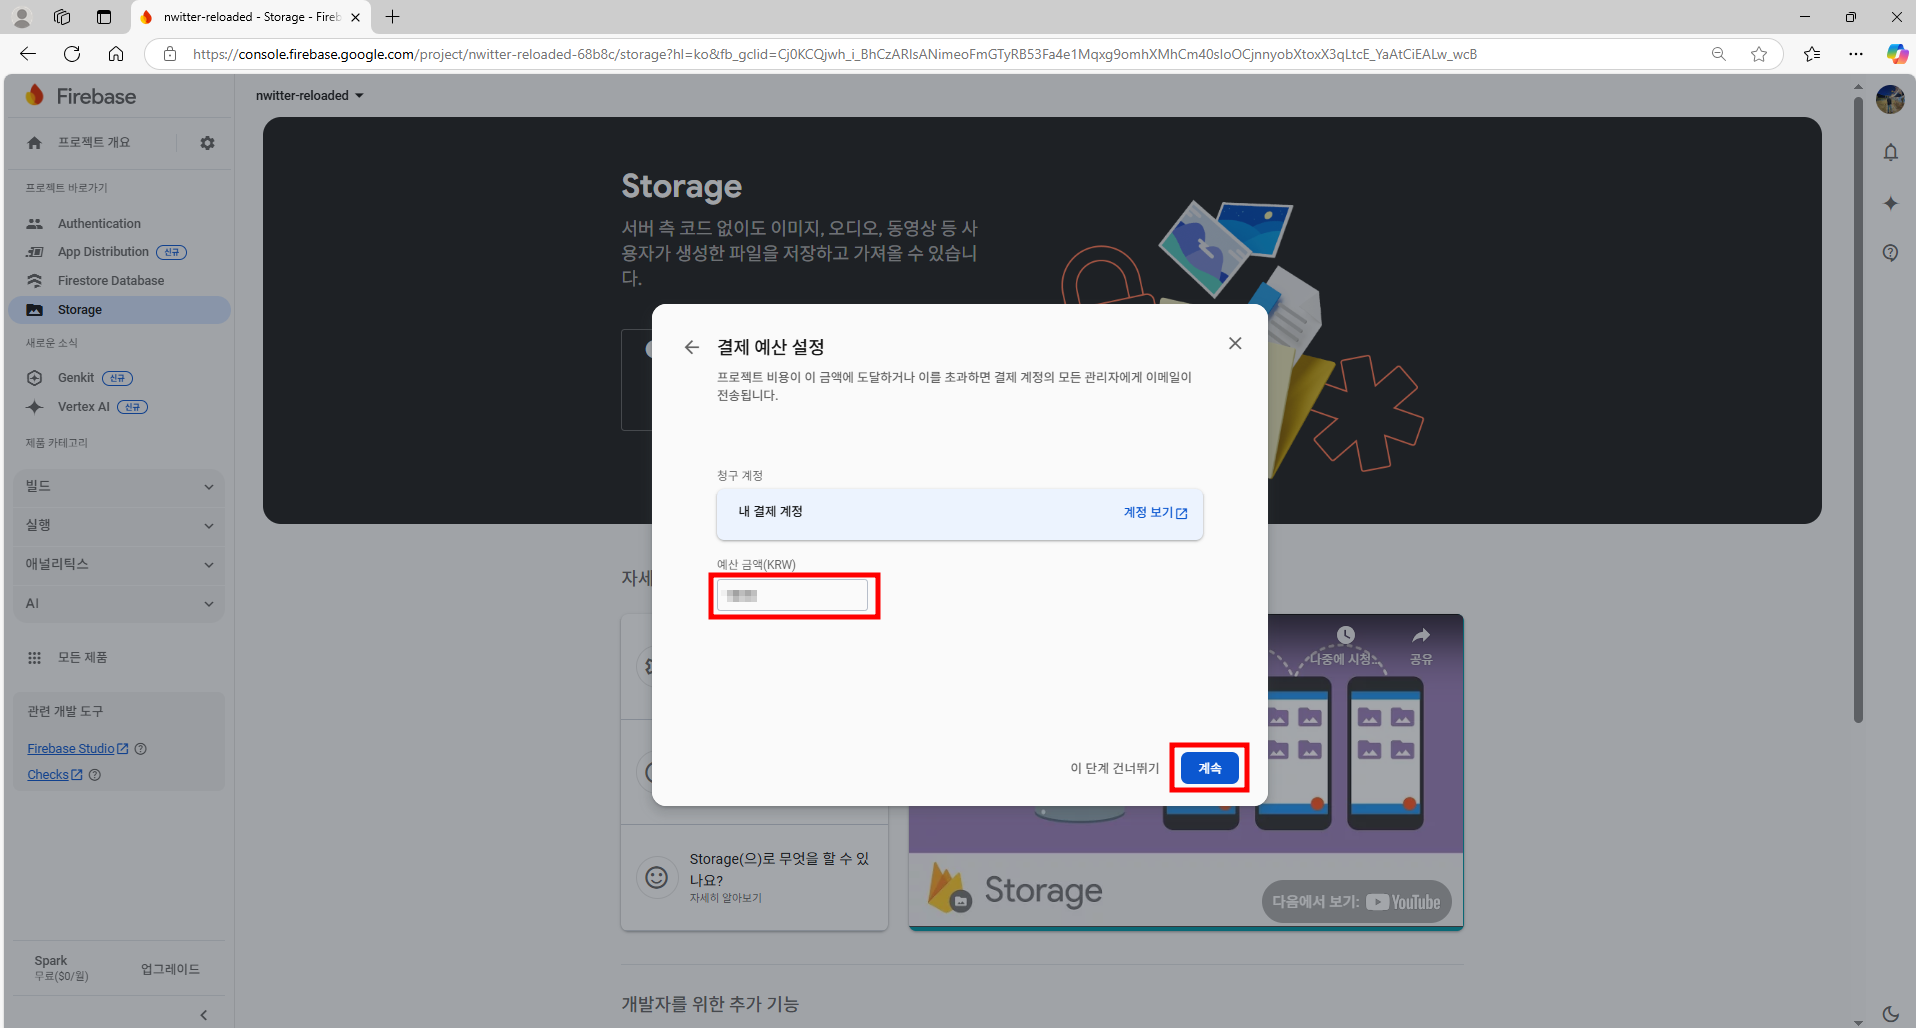
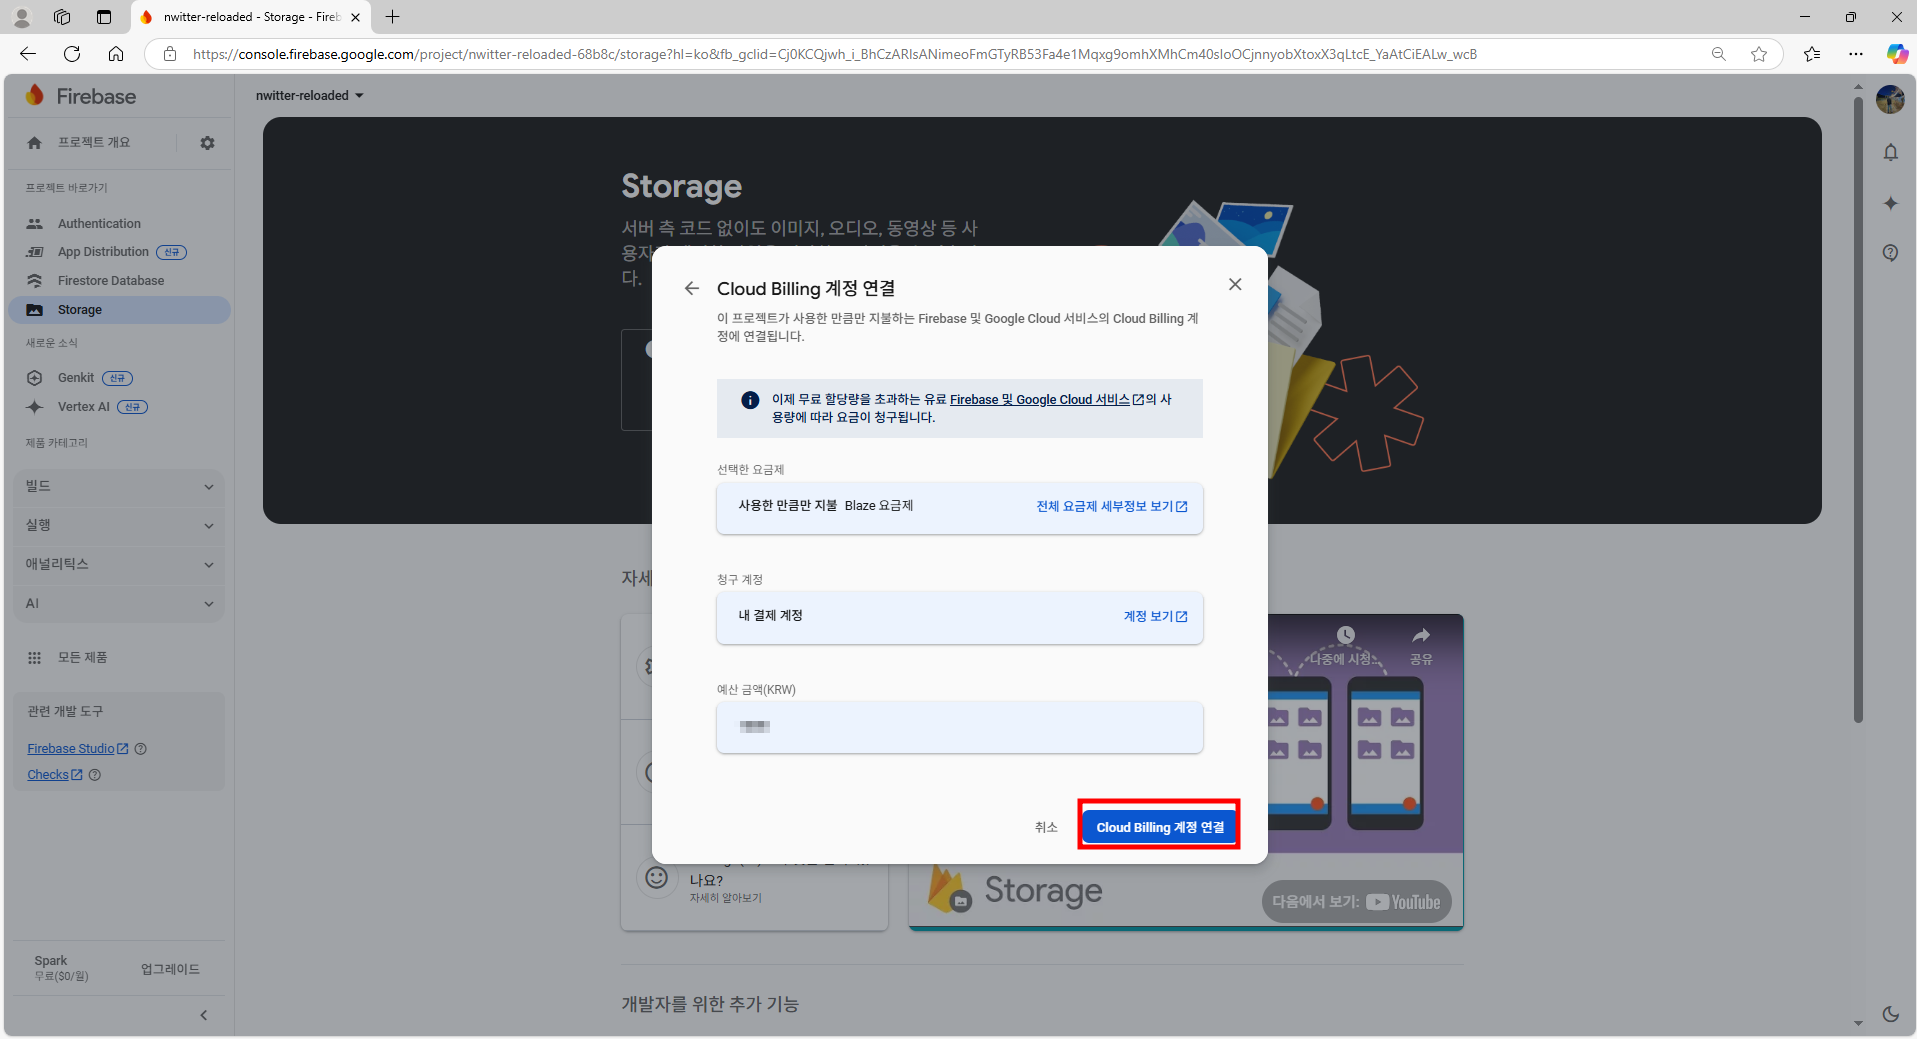
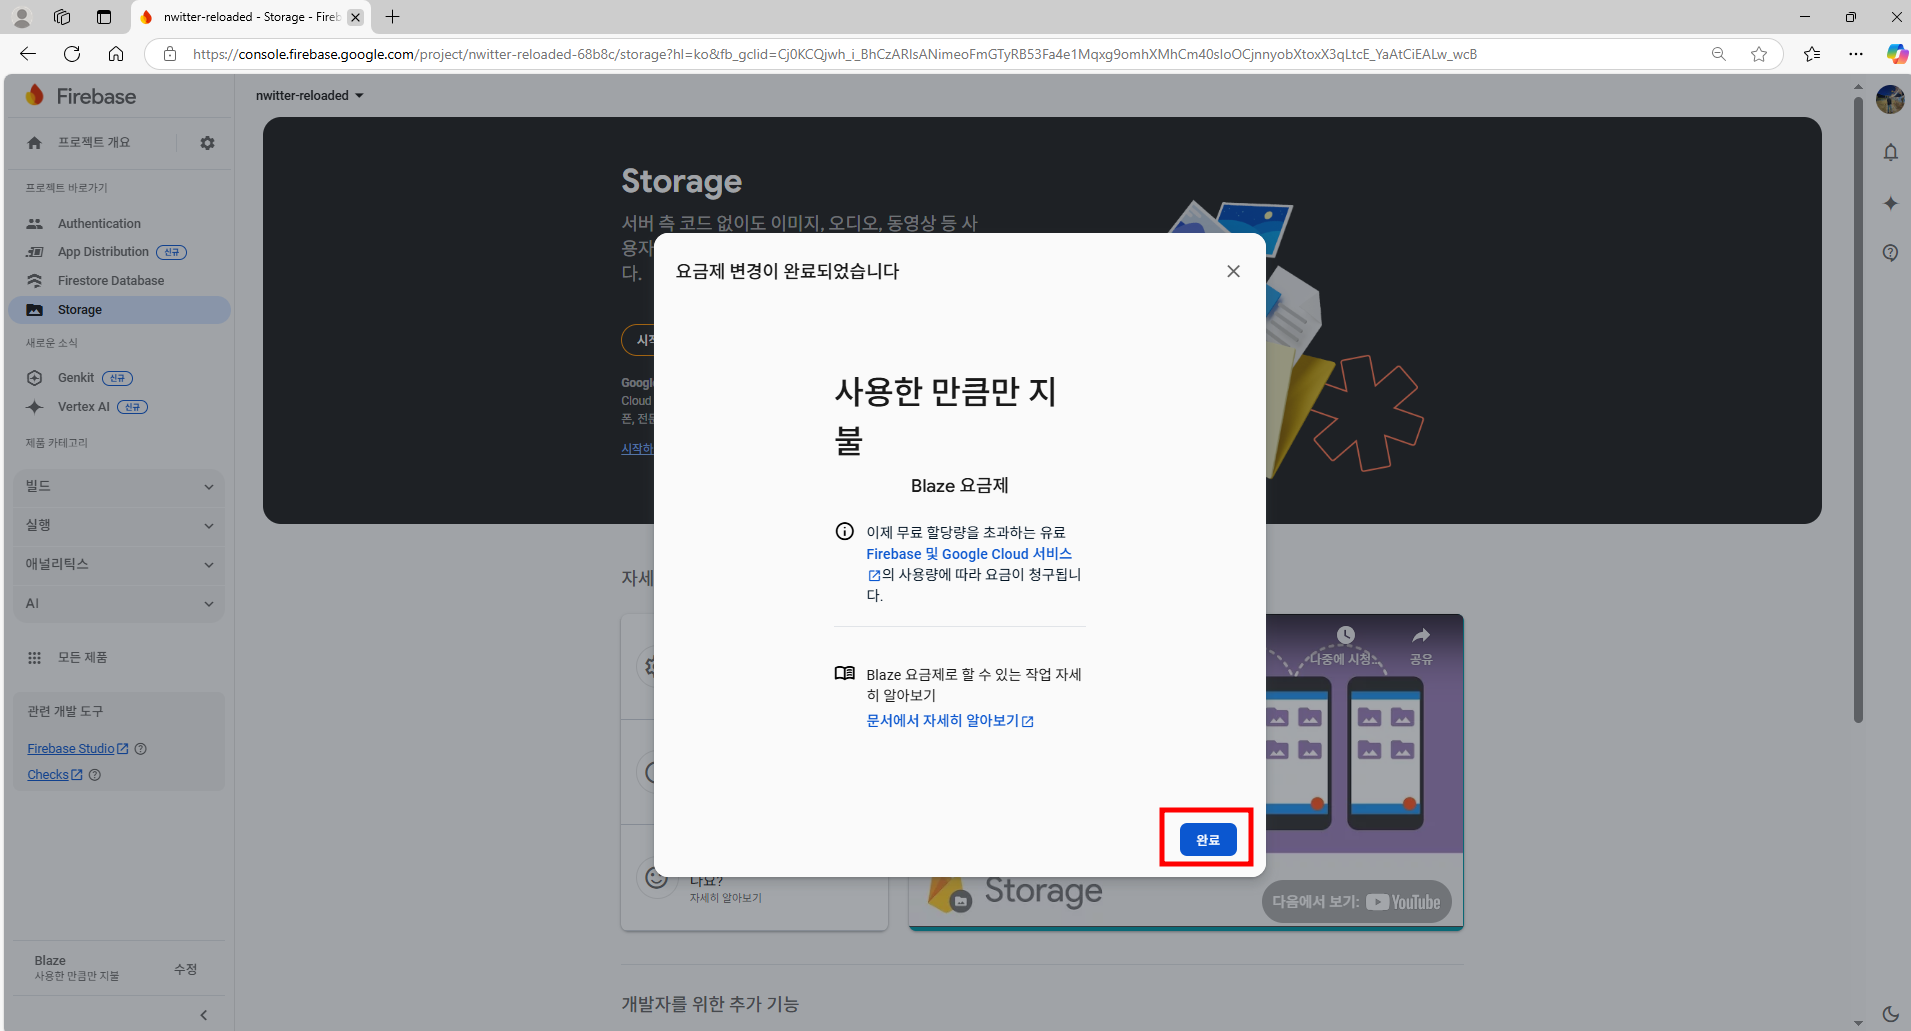
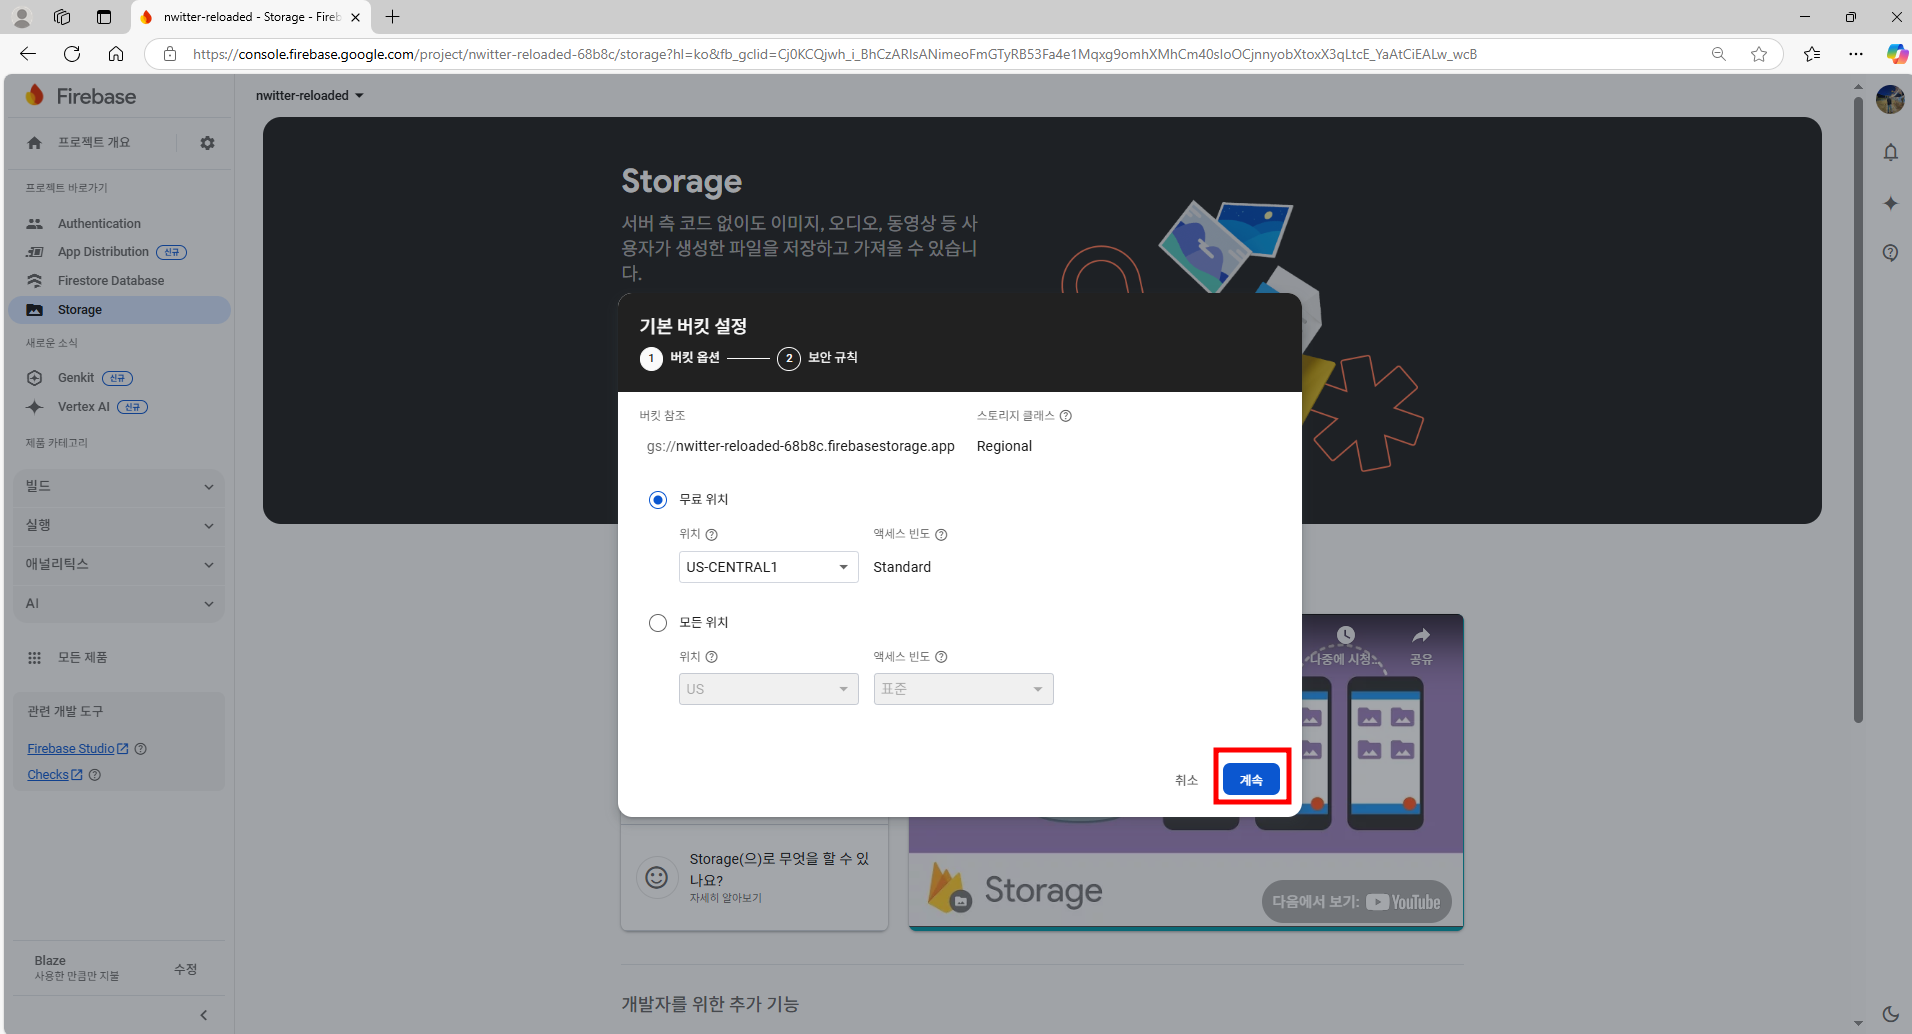
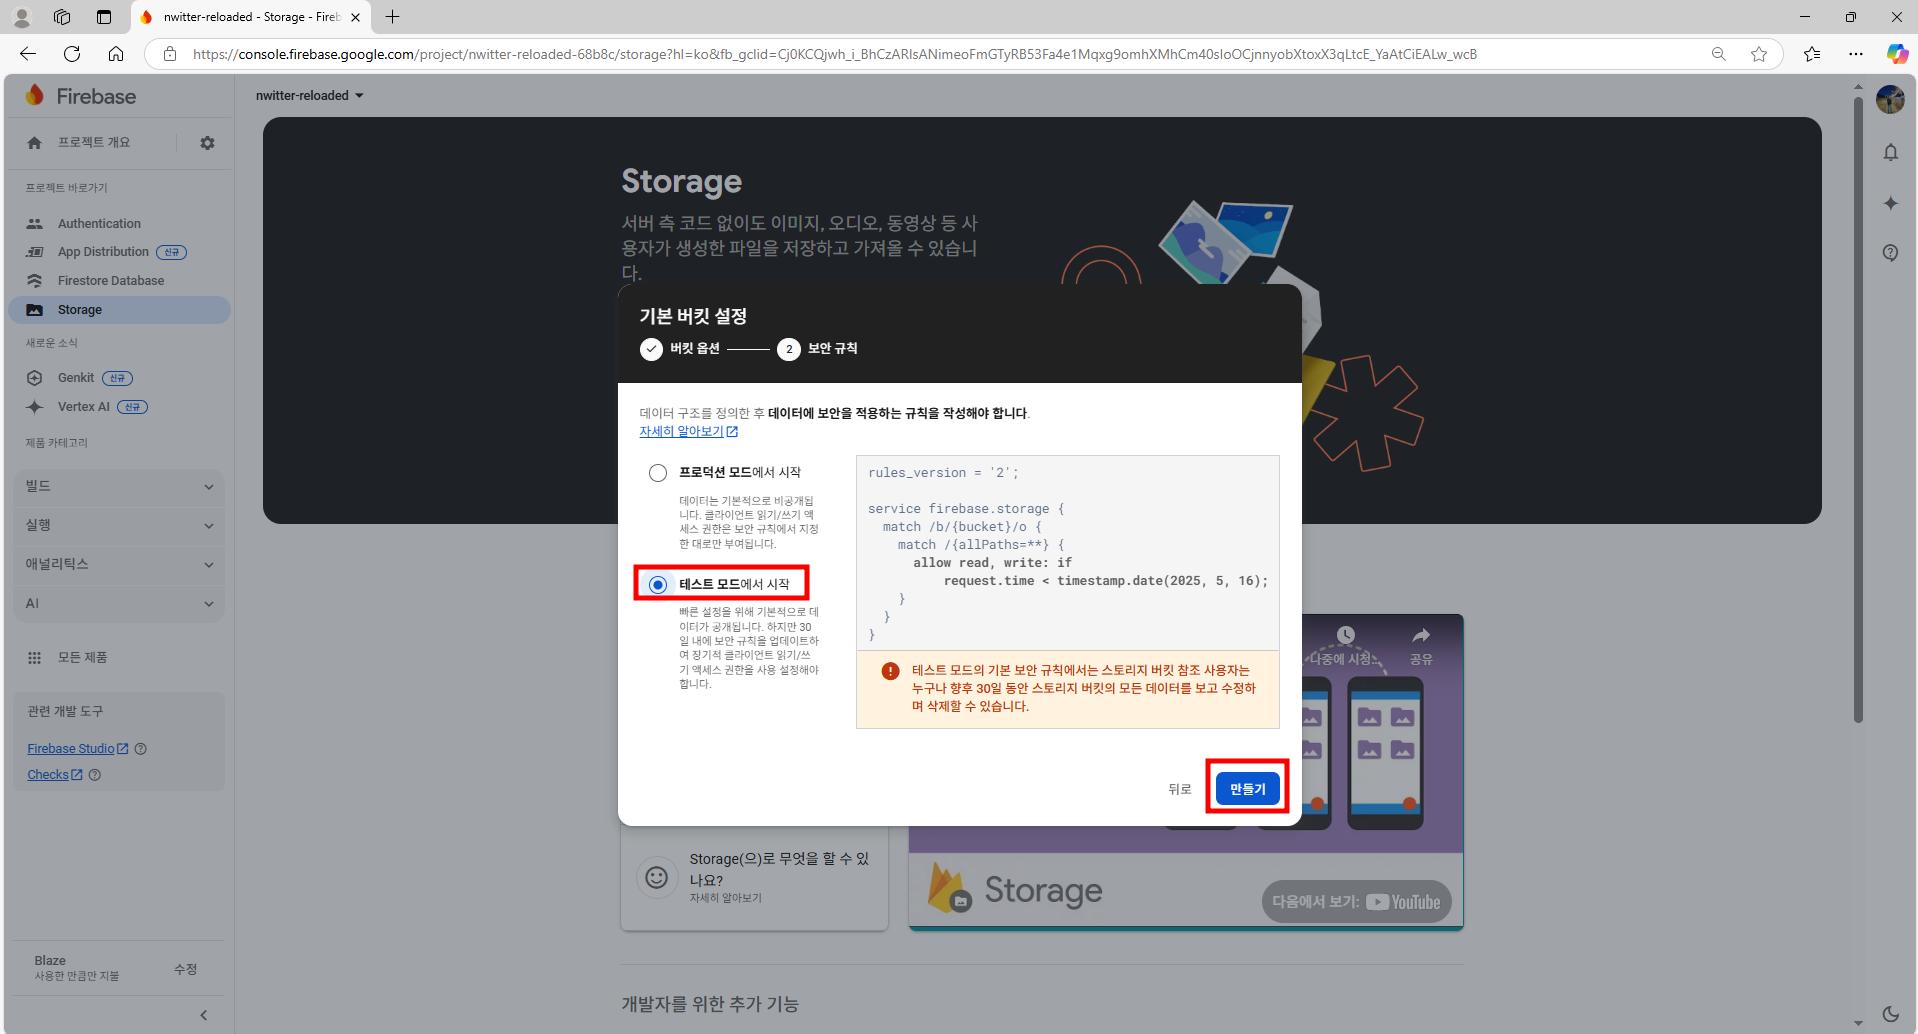
1. Firebase 사이트 내 Console에서 Colud Firestore와 Storage를 세팅한다.


2. Firebase 데이터베이스와 스토리지에 대한 엑세스 권한을 얻는다.
import { initializeApp } from "firebase/app";
import { getAnalytics } from "firebase/analytics";

import {getAuth} from "firebase/auth";
import { getStorage } from "firebase/storage";
import { getFirestore } from "firebase/firestore";

/*
  도메인, api ket 등 여러가지 키 값들이 포함된 config 개체를
  firebase app 생성 시에 firebaseConfig 객체가 주어졌다.
*/
const firebaseConfig = {
  apiKey: "AIzaSyDRHBD9TNQFRsFTV8nf8N2SRJ7C65c4r08",
  authDomain: "nwitter-reloaded-68b8c.firebaseapp.com",
  projectId: "nwitter-reloaded-68b8c",
  storageBucket: "nwitter-reloaded-68b8c.firebasestorage.app",
  messagingSenderId: "464085535303",
  appId: "1:464085535303:web:ba1b5d7558448f3dc07f62",
  measurementId: "G-HF9RX7ZX6F"
};

/*
  firebaseConfig 옵션을 통해서 app을 생성한다.
*/
const app = initializeApp(firebaseConfig);
const analytics = getAnalytics(app);

/*
  app에 대한 인증 서비스를 사용한다.
*/
export const auth = getAuth(app);


/*
  데이터베이스와 스토리지에 대한 엑세스 권한을 얻는다.
*/
export const storeage = getStorage(app);

export const db = getFirestore(app);
2. 데이터를 추가한다.
2.1. Firebase 사이트 내 Console에서 수동으로 데이터를 추가
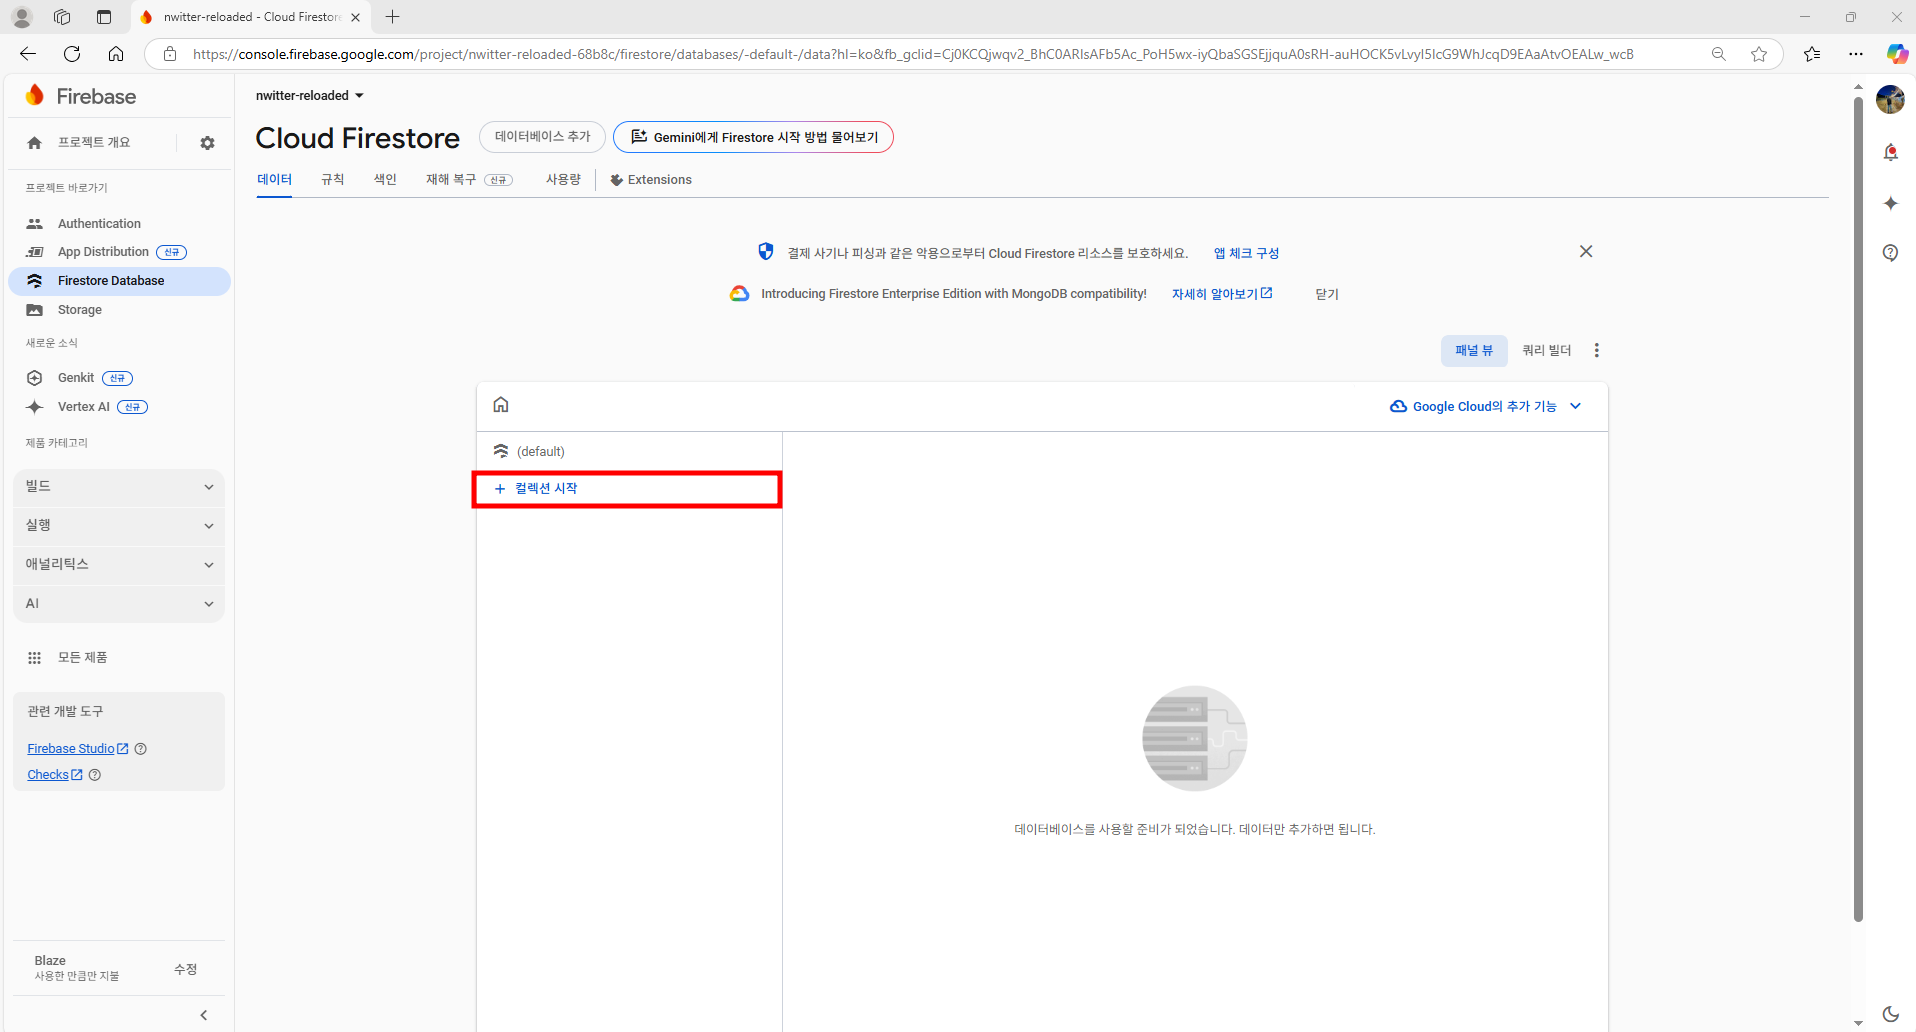
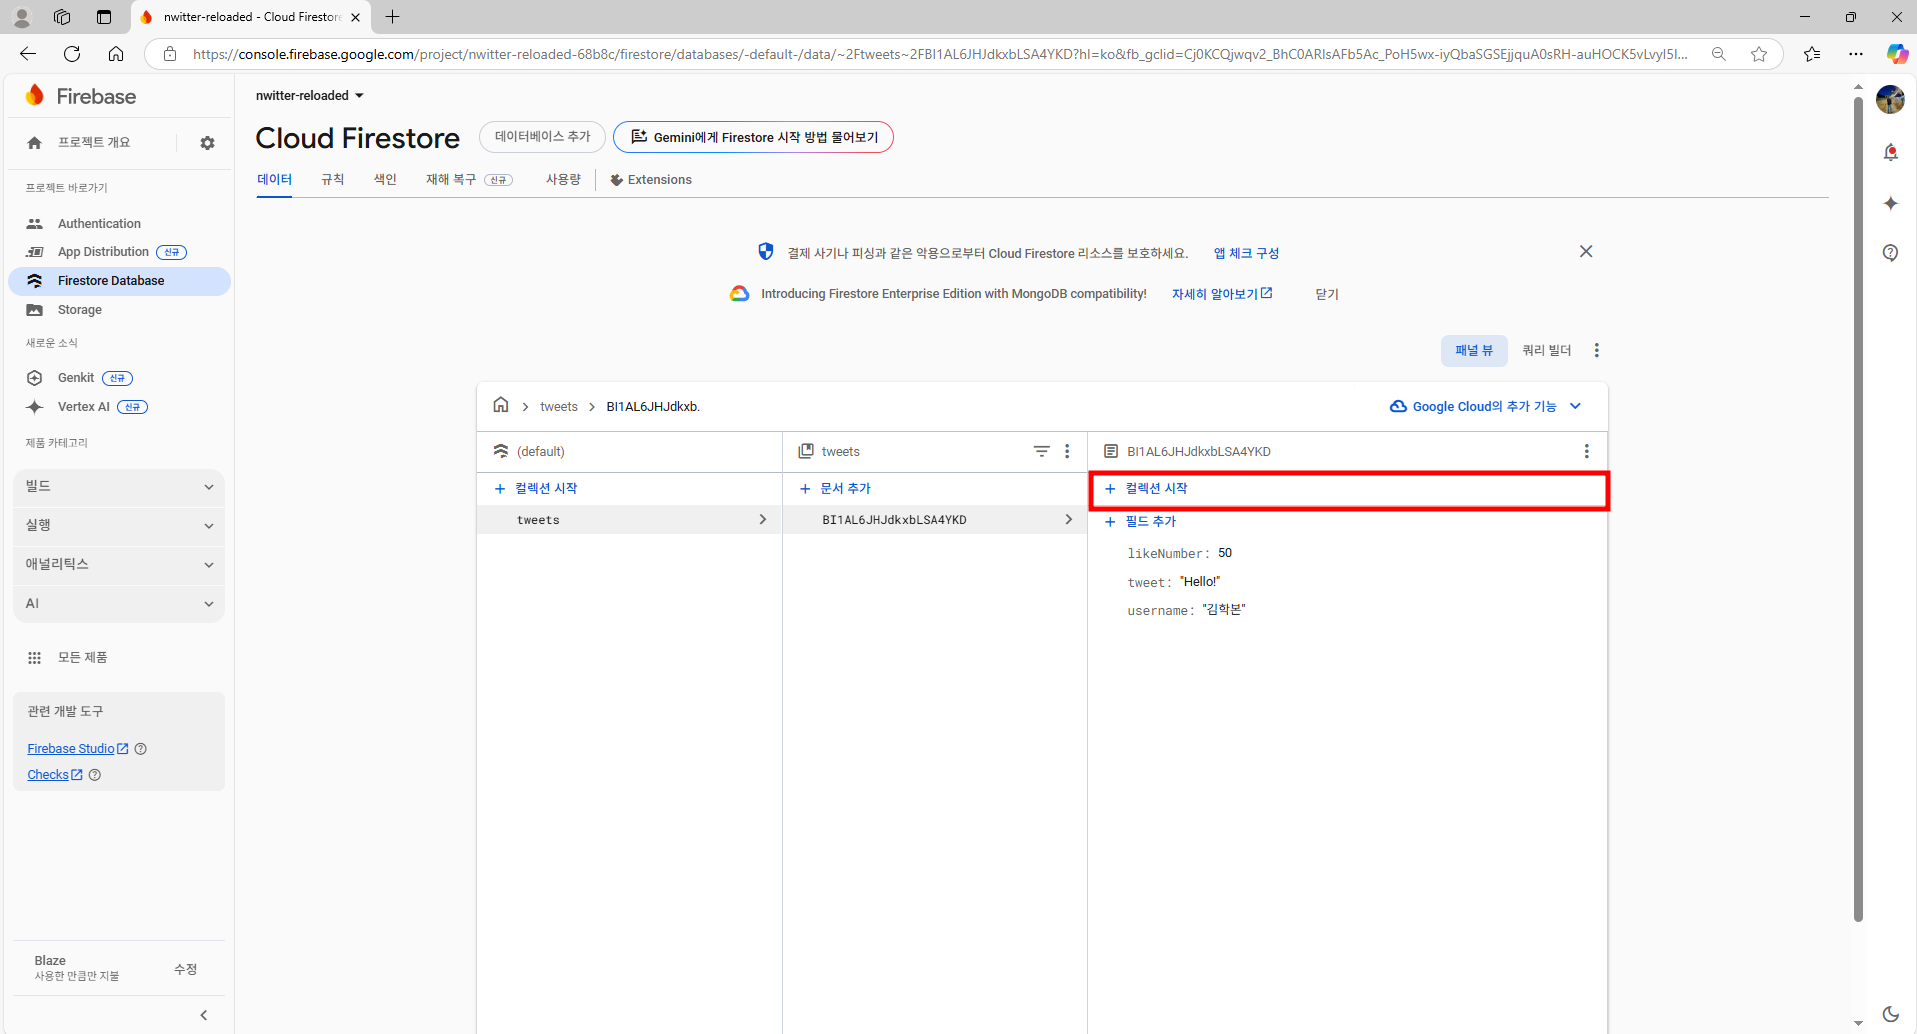
이 데이터베이스는 Collection과 Document라는 것으로 동작한다.
Collection은 폴더 같은 것이다.
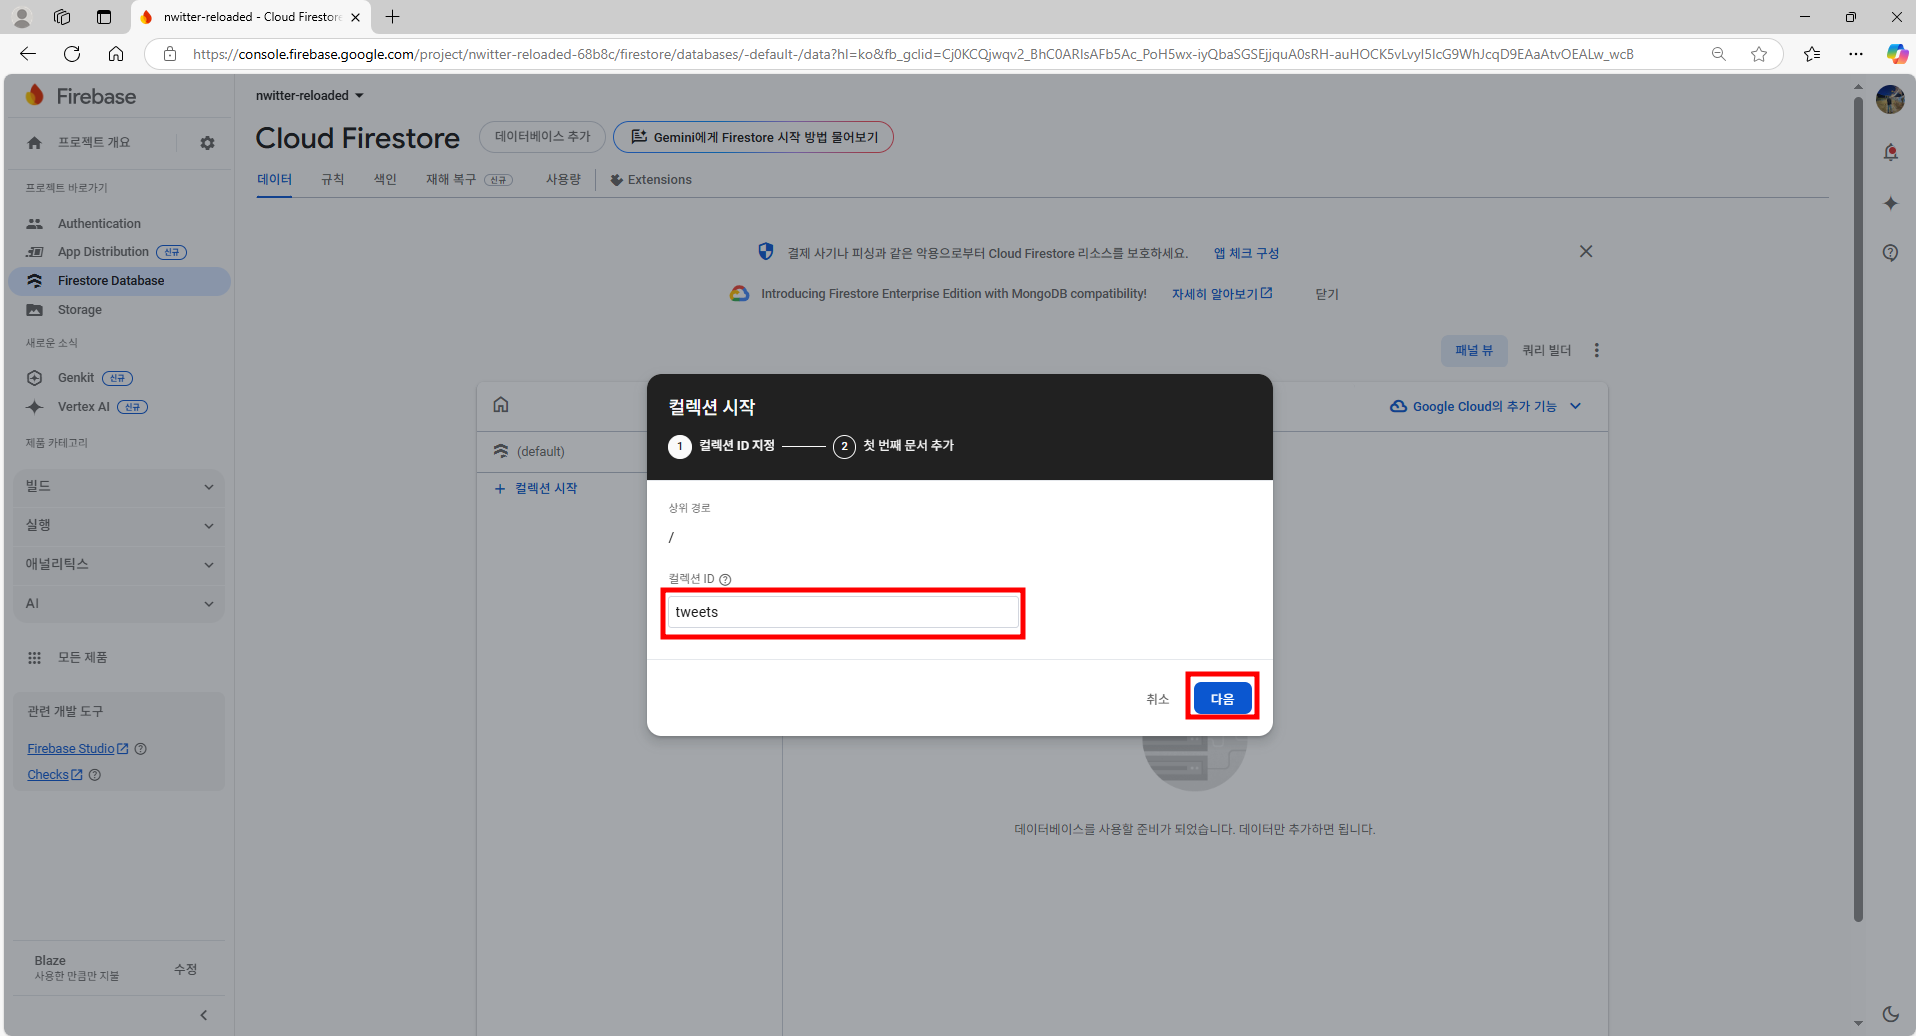
예를들어, "컬렉션 시작"을 누르고 "tweets"을 입력하고 이 컬렉션의 첫 번째 Document를 만들어야 한다.
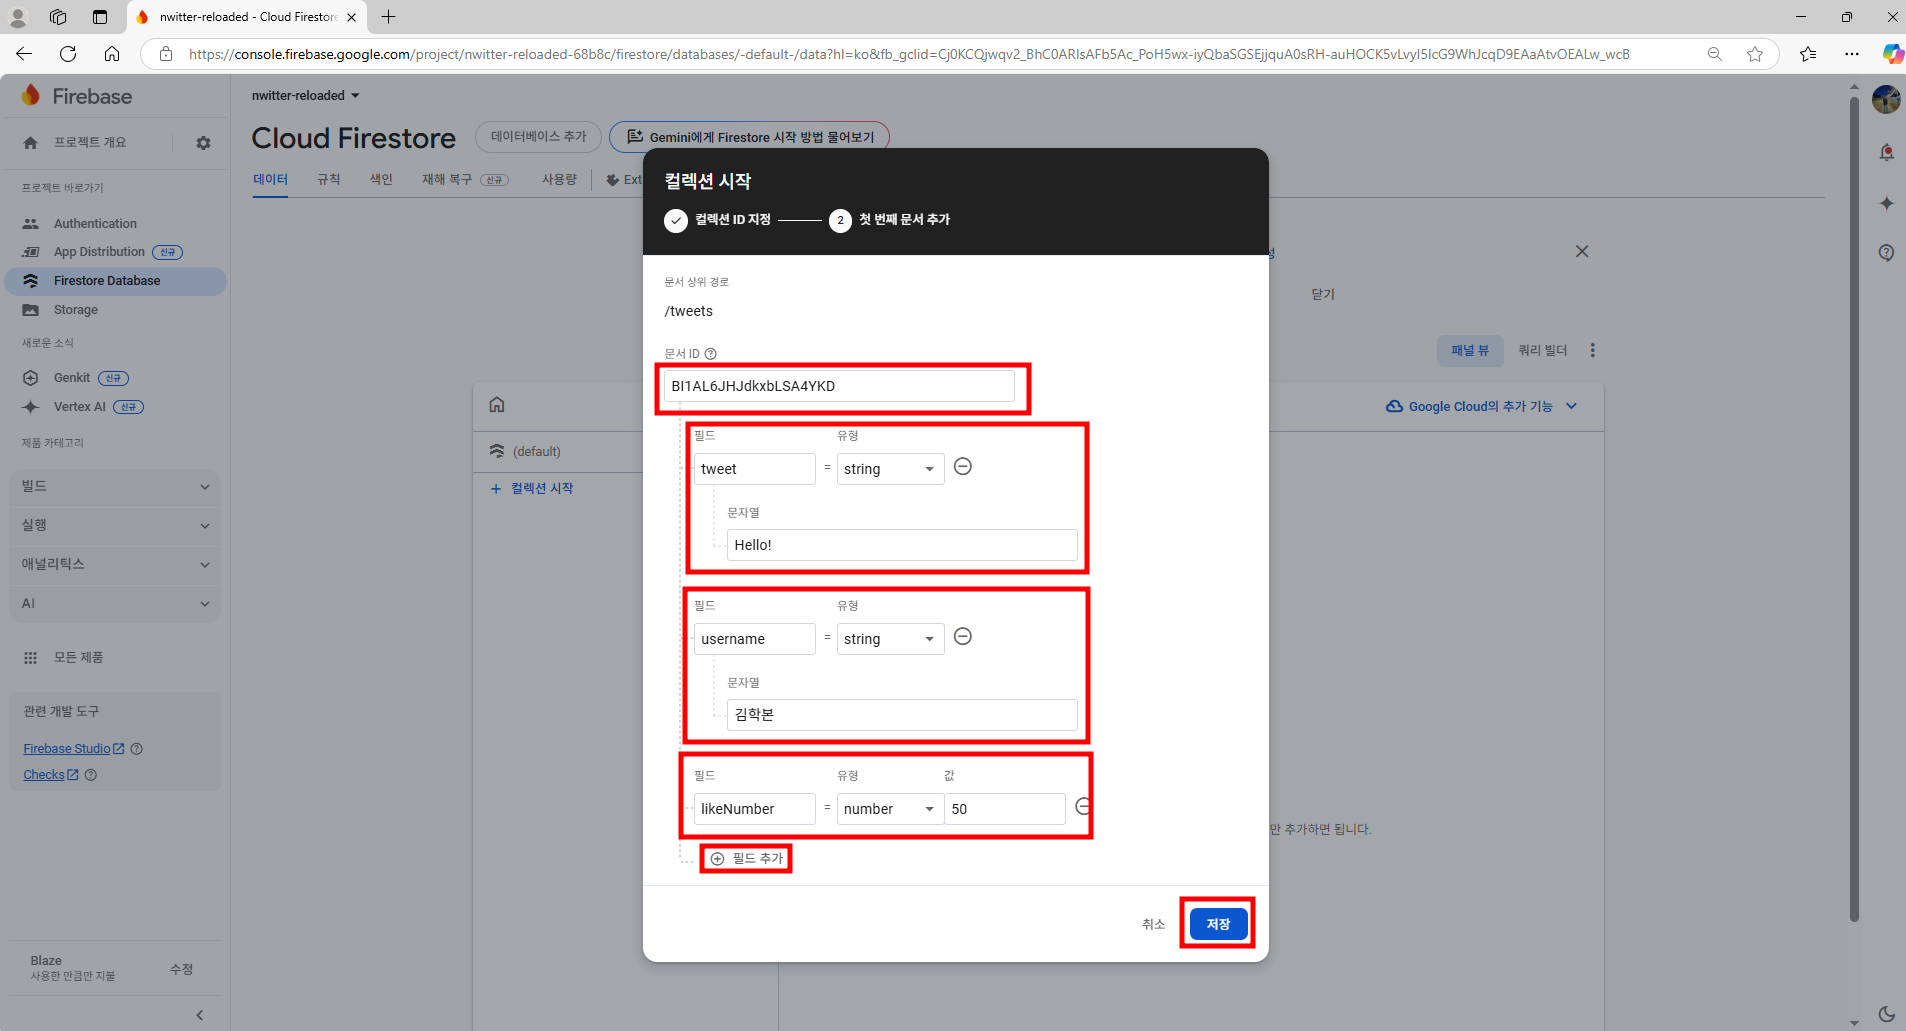
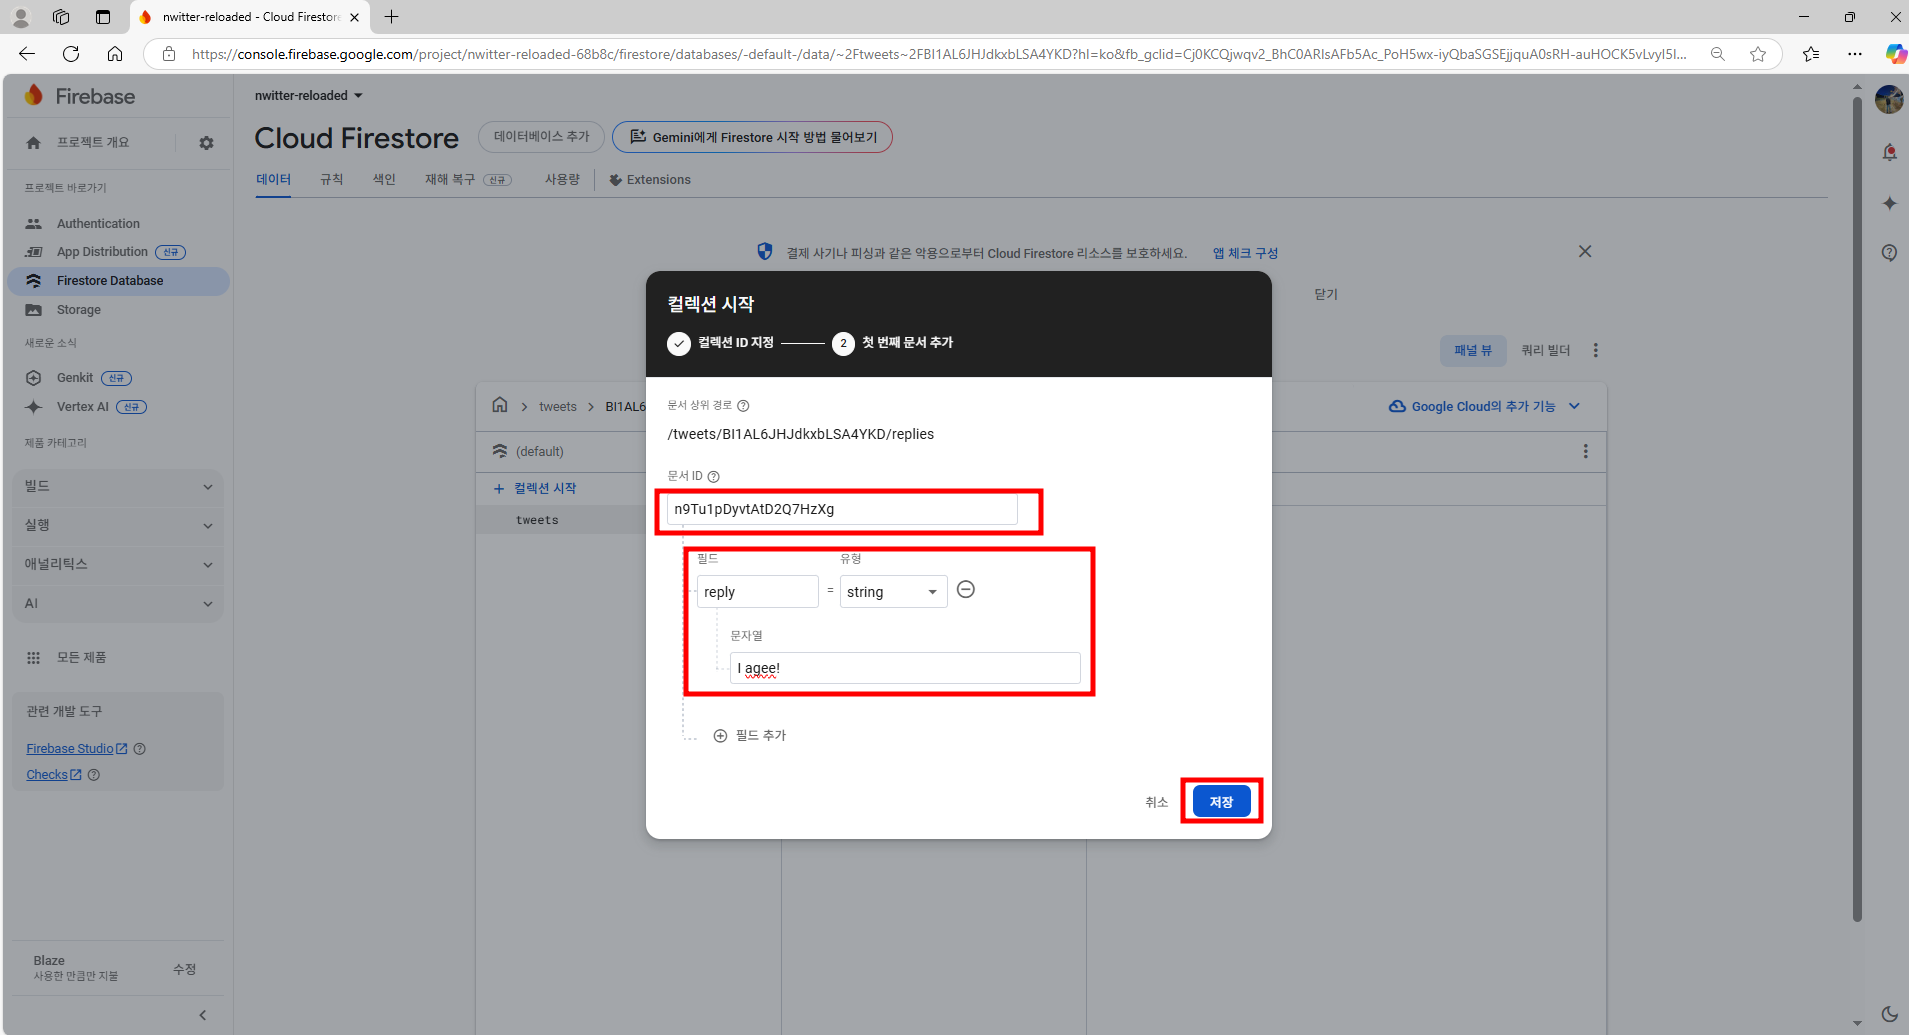
Document에는 기본적으로 임의의 ID가 배정되지만 원한다면 ID를 변경할 수 있다.
임의의 ID를 작성하고 필드와 유형 그리고 문자열을 입력한다.
지금은 수동으로 데이터를 입력하는 방법이다.
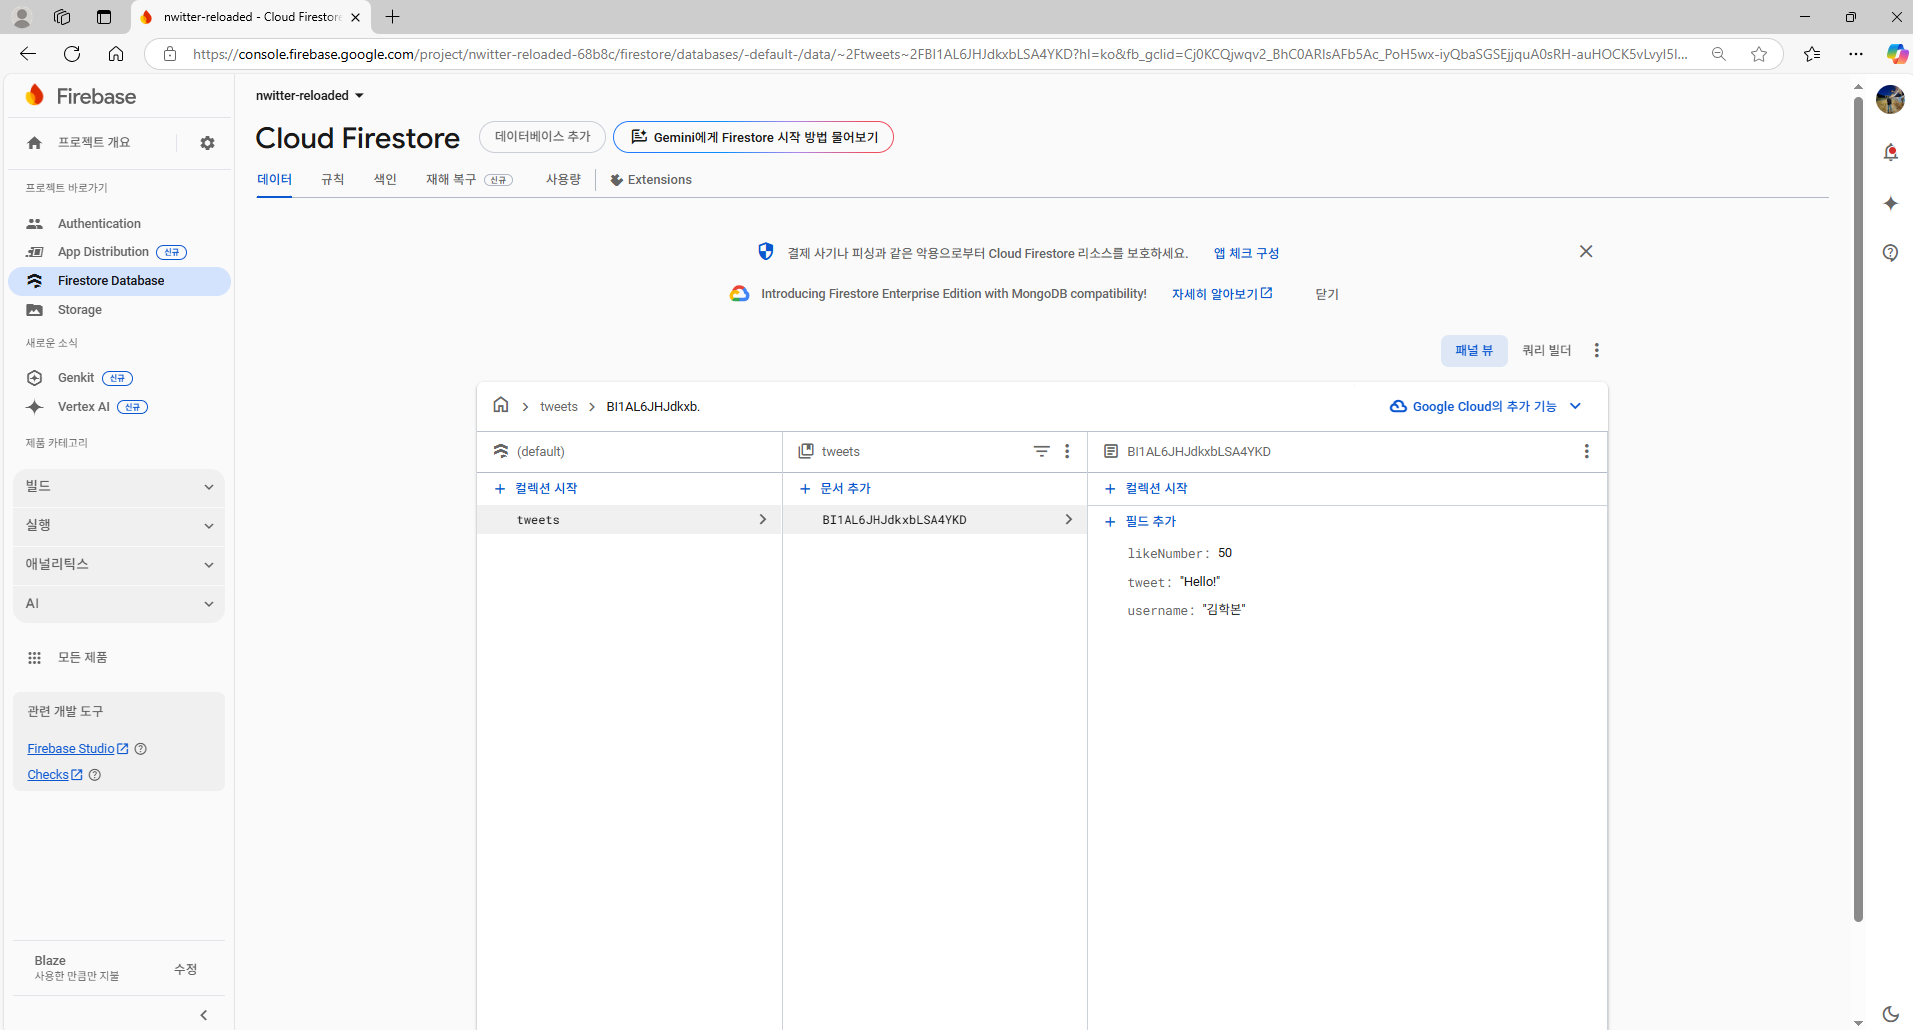
tweets라는 Collection이 있는데 최상위 Collection이다.
그 안에는 BI1AL6JHJdkxbLSA4YKD라는 Document가 있다.
이 안에는 무엇이든 저장할 수 있는 필드들이 있고 원한다면 Document 내에 다른 Collection이 있을 수 있다.
tweets라는 Collection으로 시작했고, 여기엔 내용이 Document로 들어있다.
Document 안에 또 다른 Collecton이 존재할 수 있다.
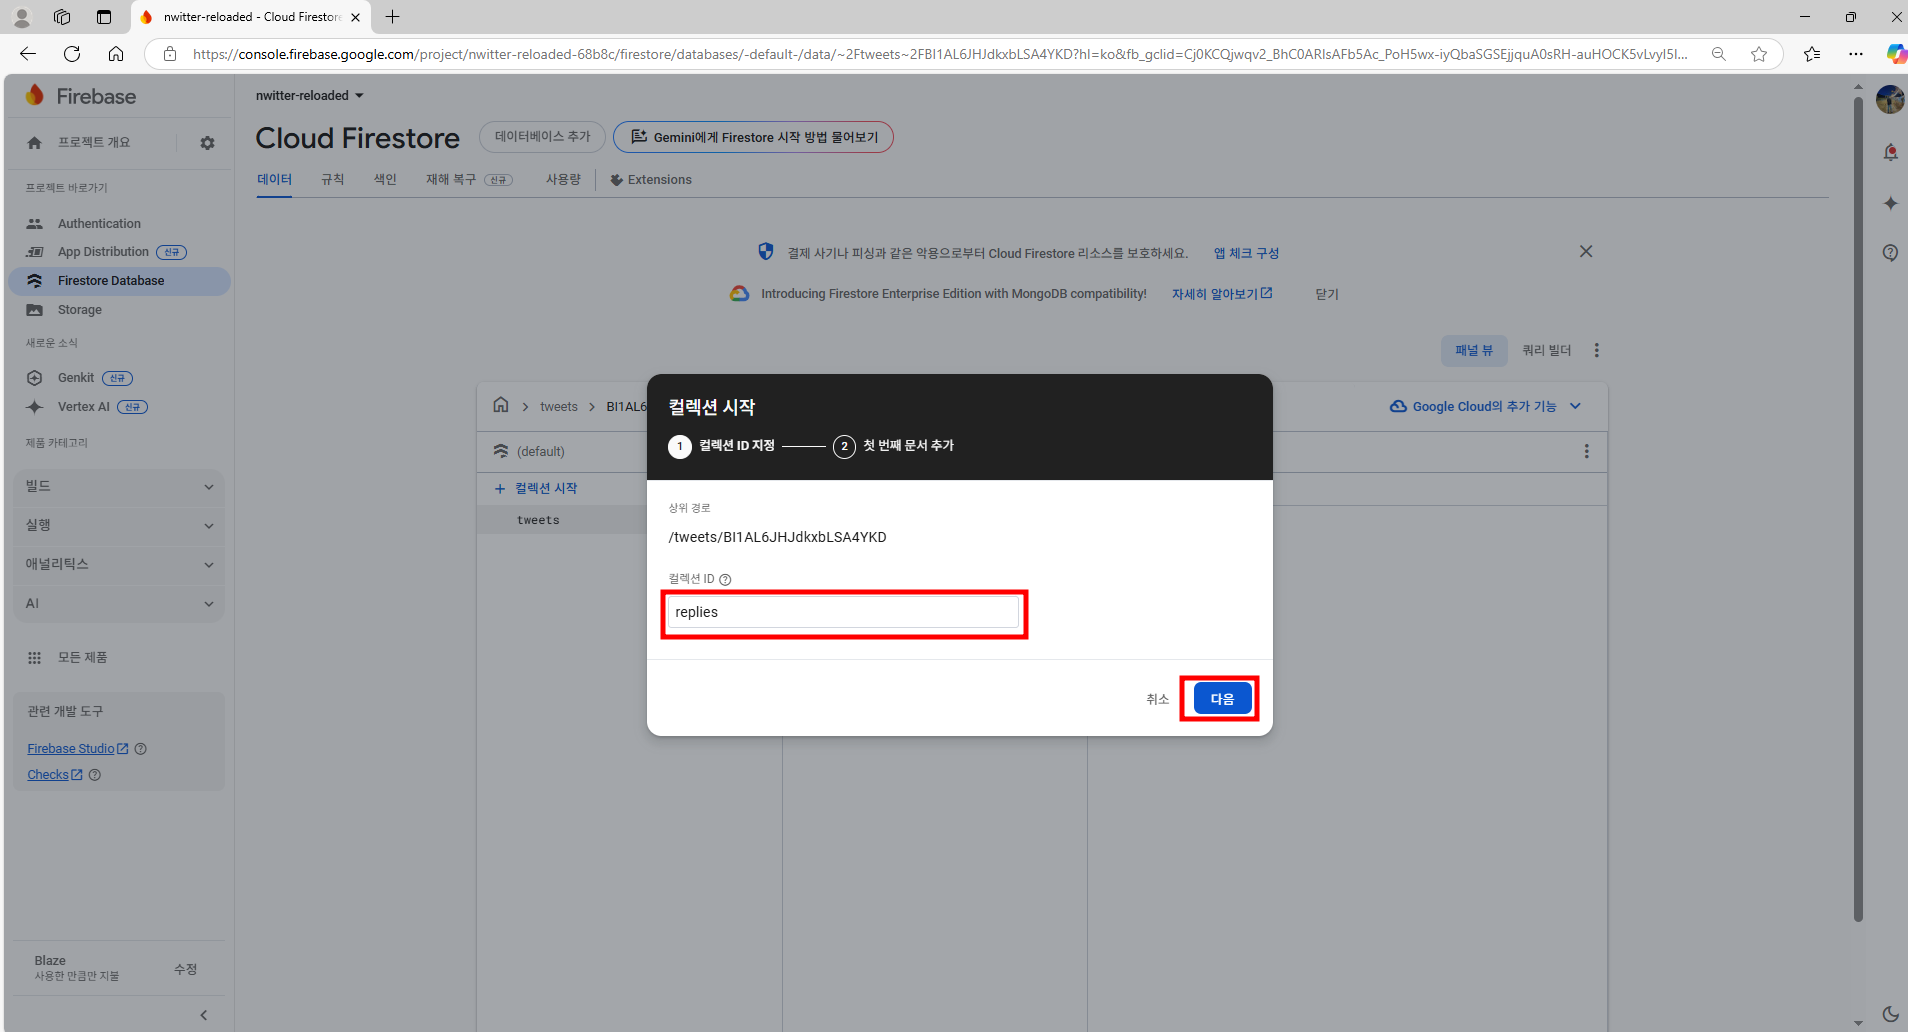
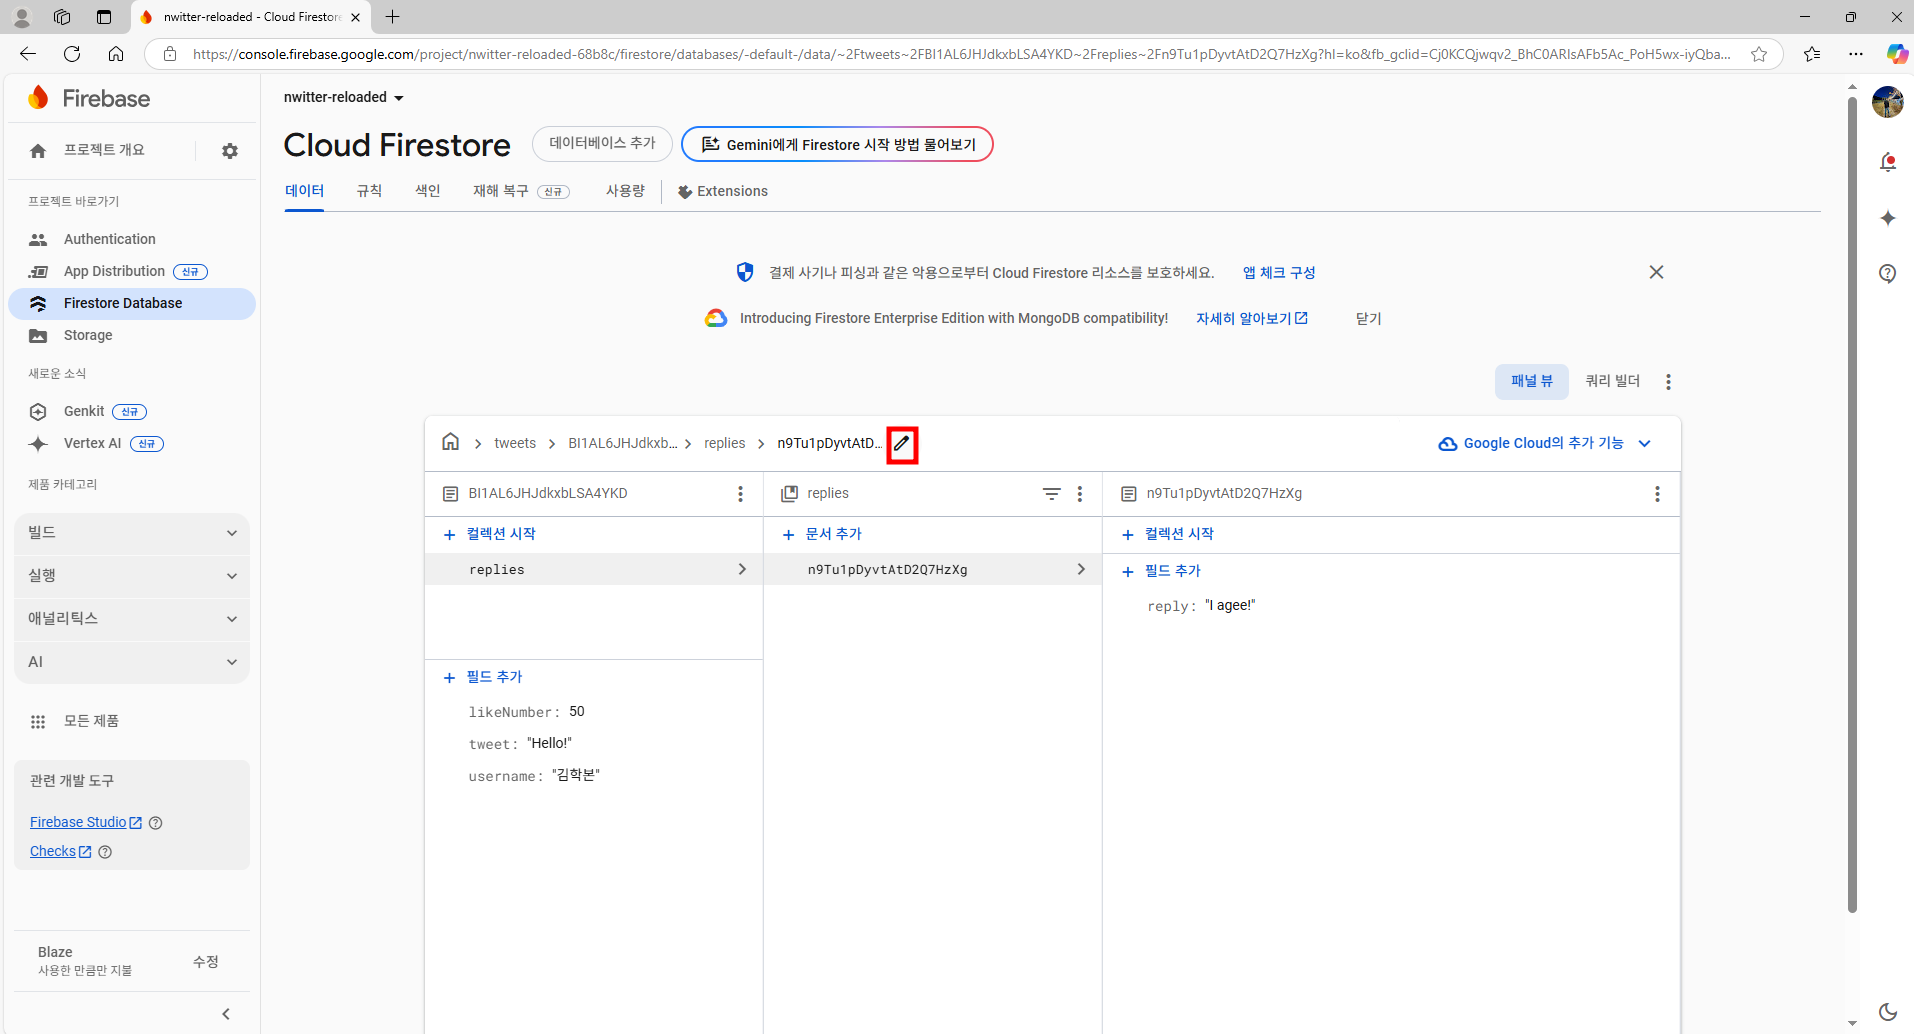
댓글을 생성한다고 가정했을때 "reply"라는 필드가 존재할 것이다.
필드명을 "reply"라고 하고 값은 "I agree!"라고 했을때 다른 유저가 트위터에 댓글을 달았다고 생각하면 된다.
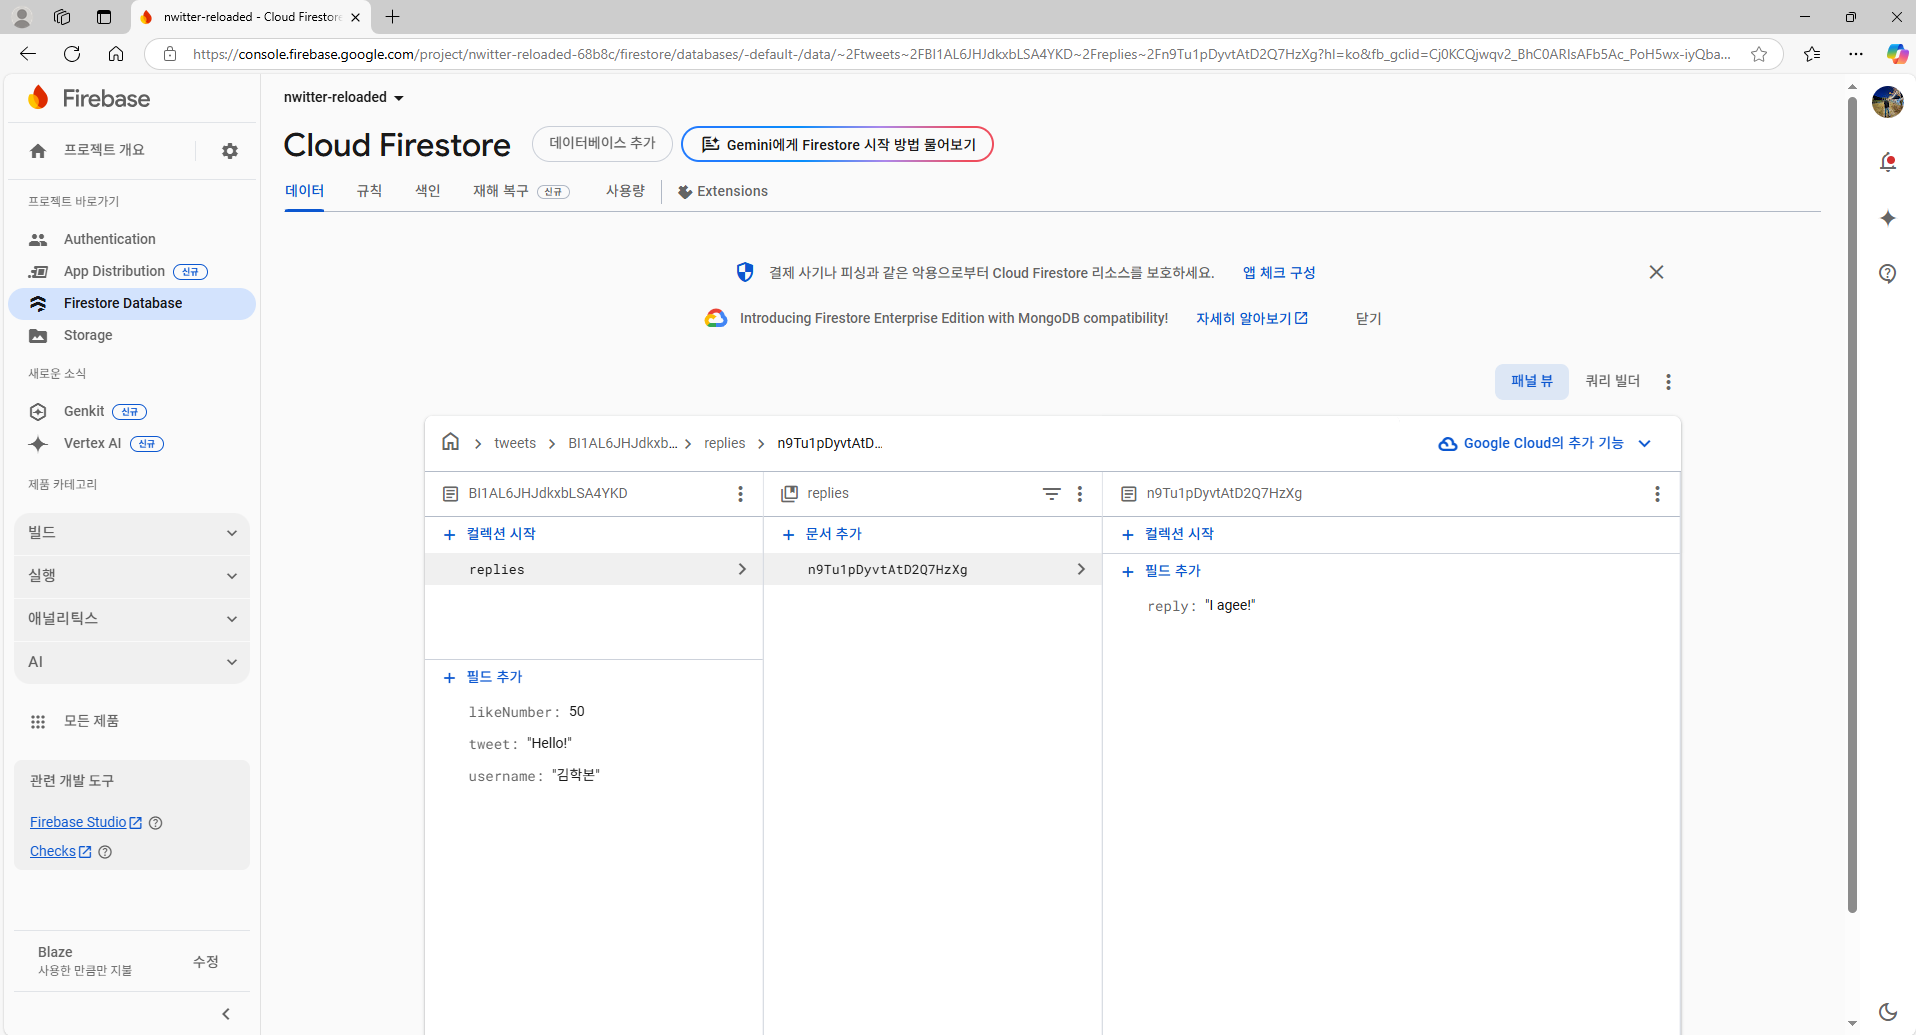
"replies" Collecton이 Docunmet 내에 있고, 그건 "tweets" Colection 내에 있다.
그 "tweets" Collection은 DB에 있다.
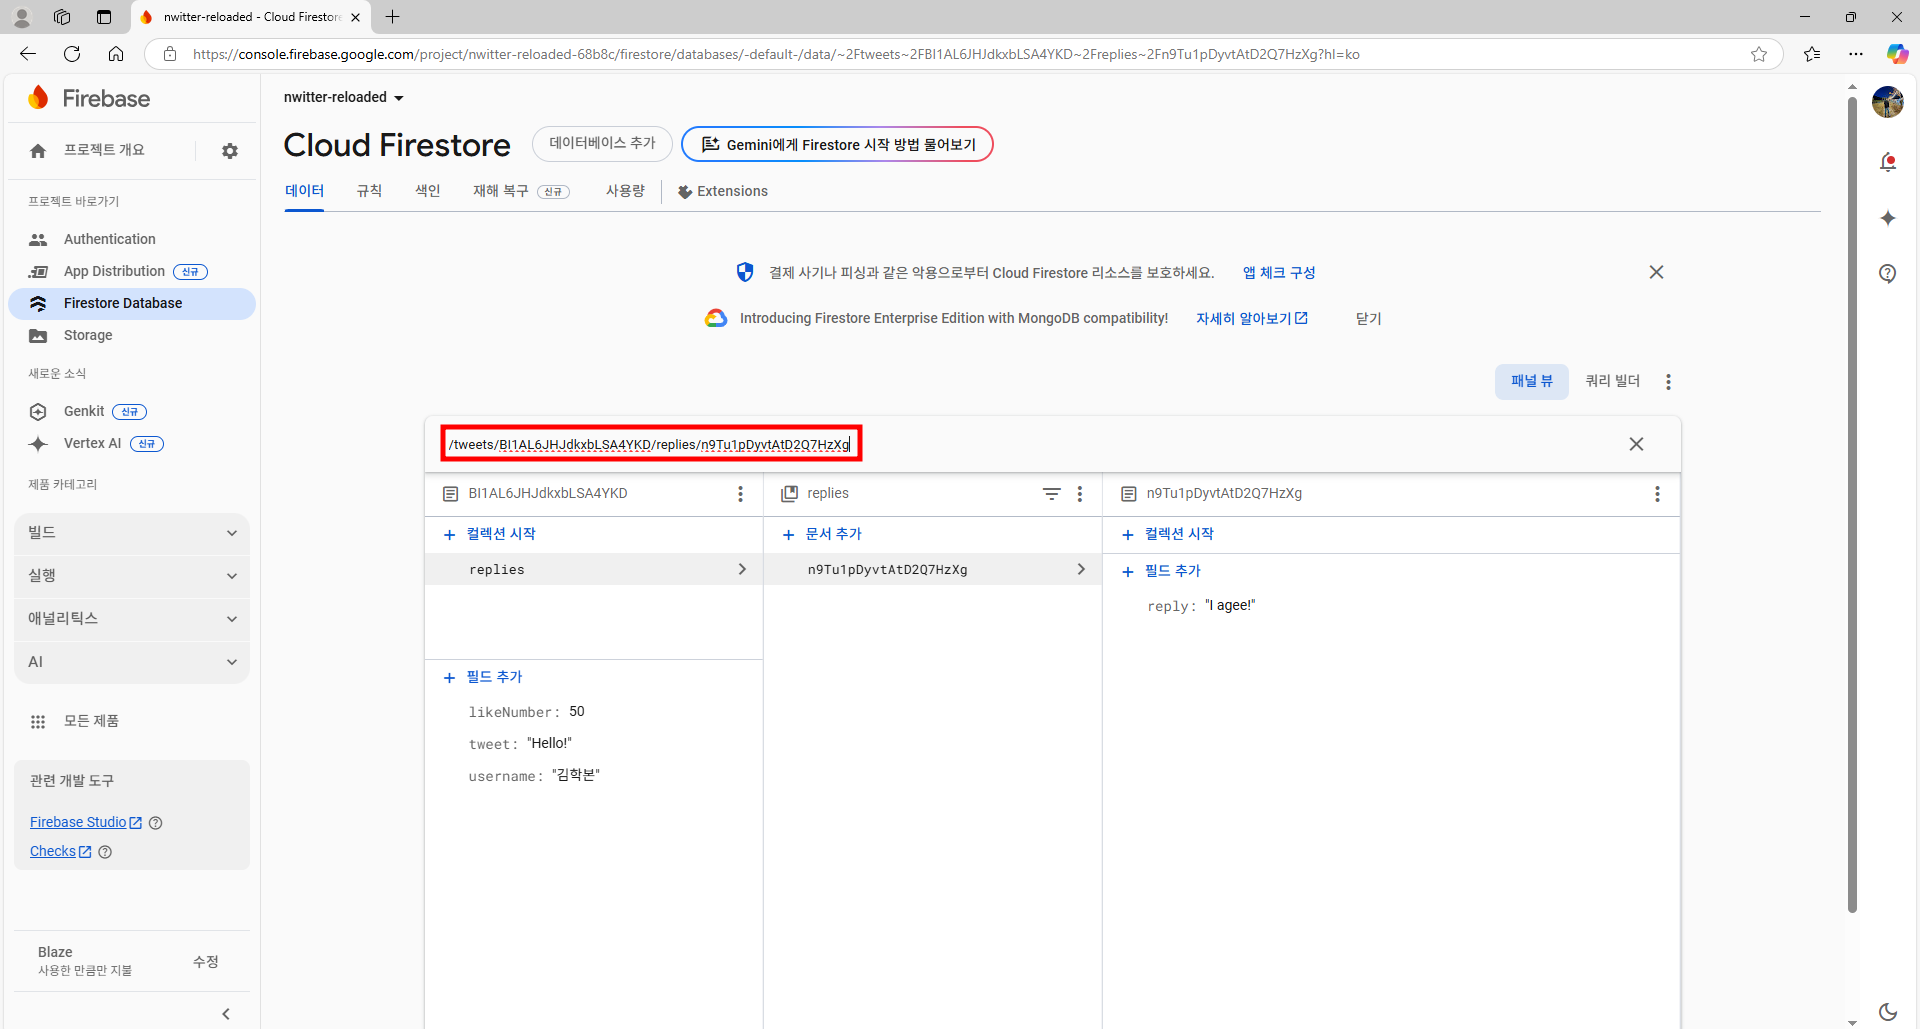
"/tweets/BI1AL6JHJdkxbLSA4YKD/replies/n9Tu1pDyvtAtD2Q7HzXg"는 파일 시스템의 경로와 비슷하게 생긴 걸 볼 수 있다.
"tweets" Collecton, " BI1AL6JHJdkxbLSA4YKD " Document ID, " replies " Collecton, " n9Tu1pDyvtAtD2Q7HzXg " Document ID 이런식으로 되어 있다.
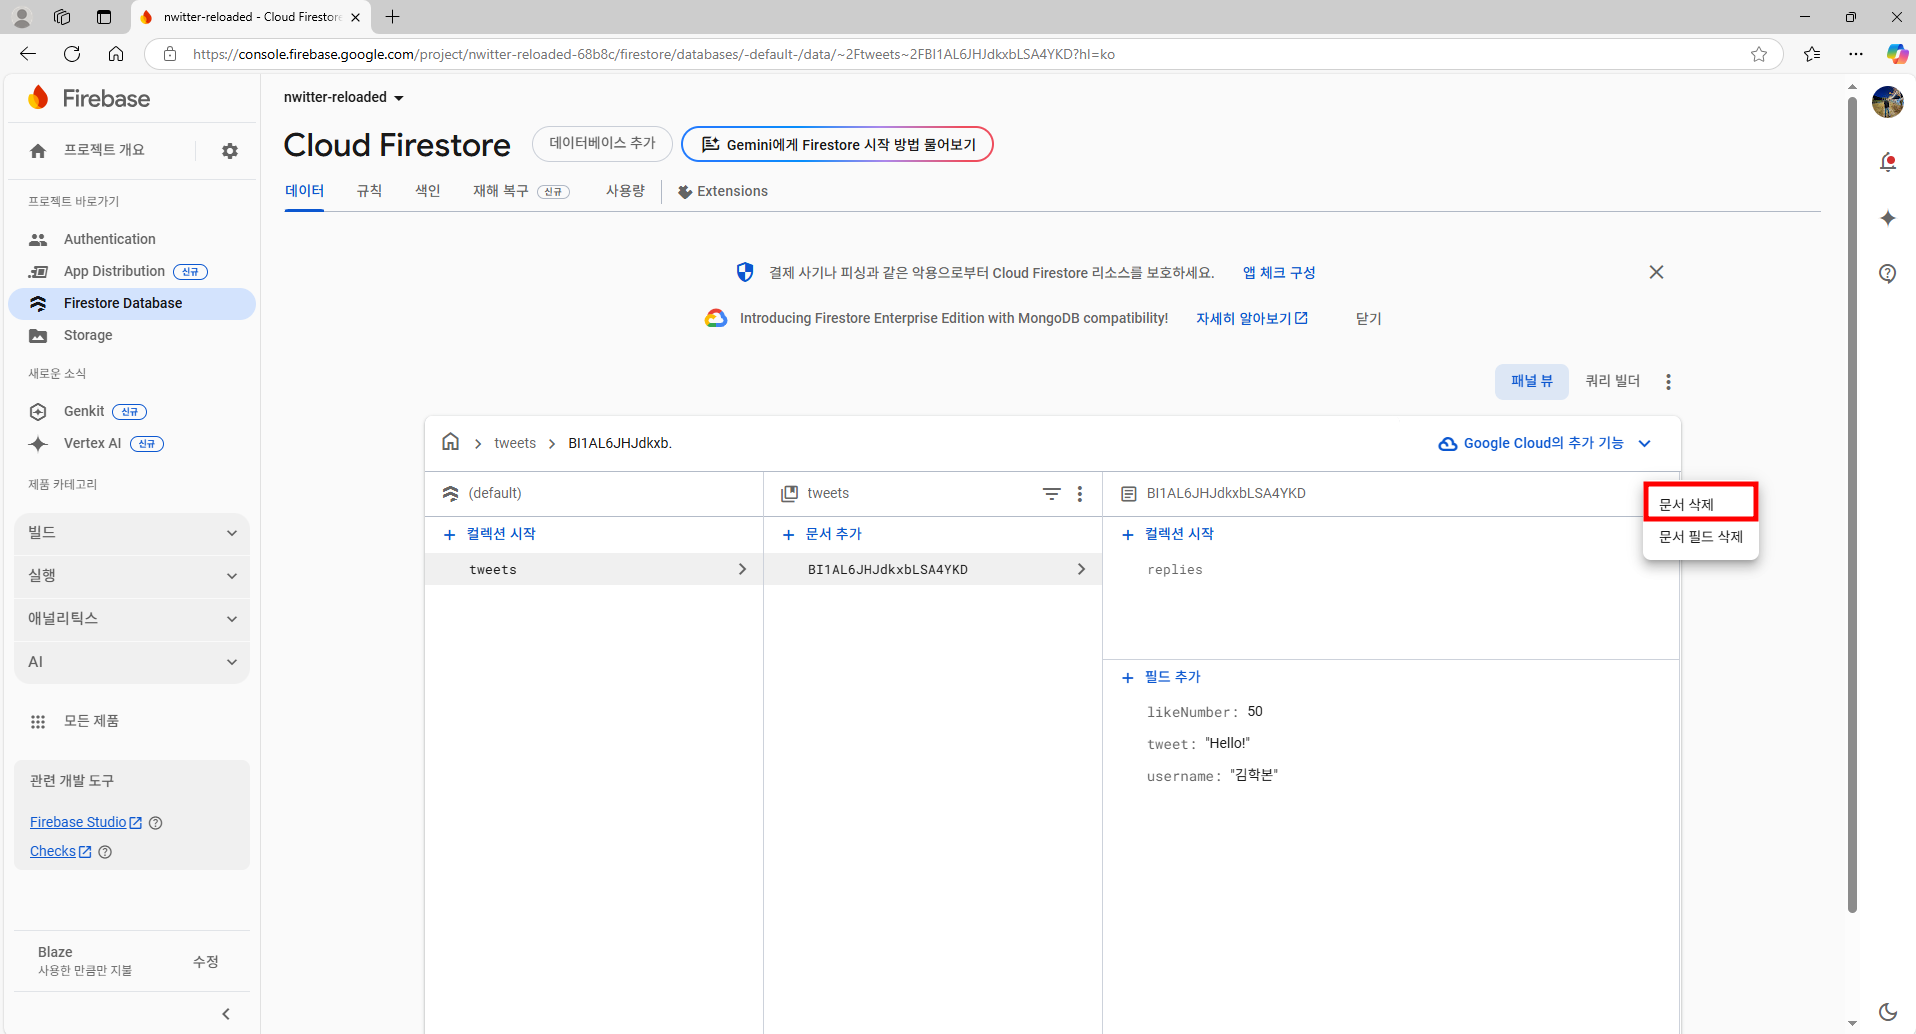
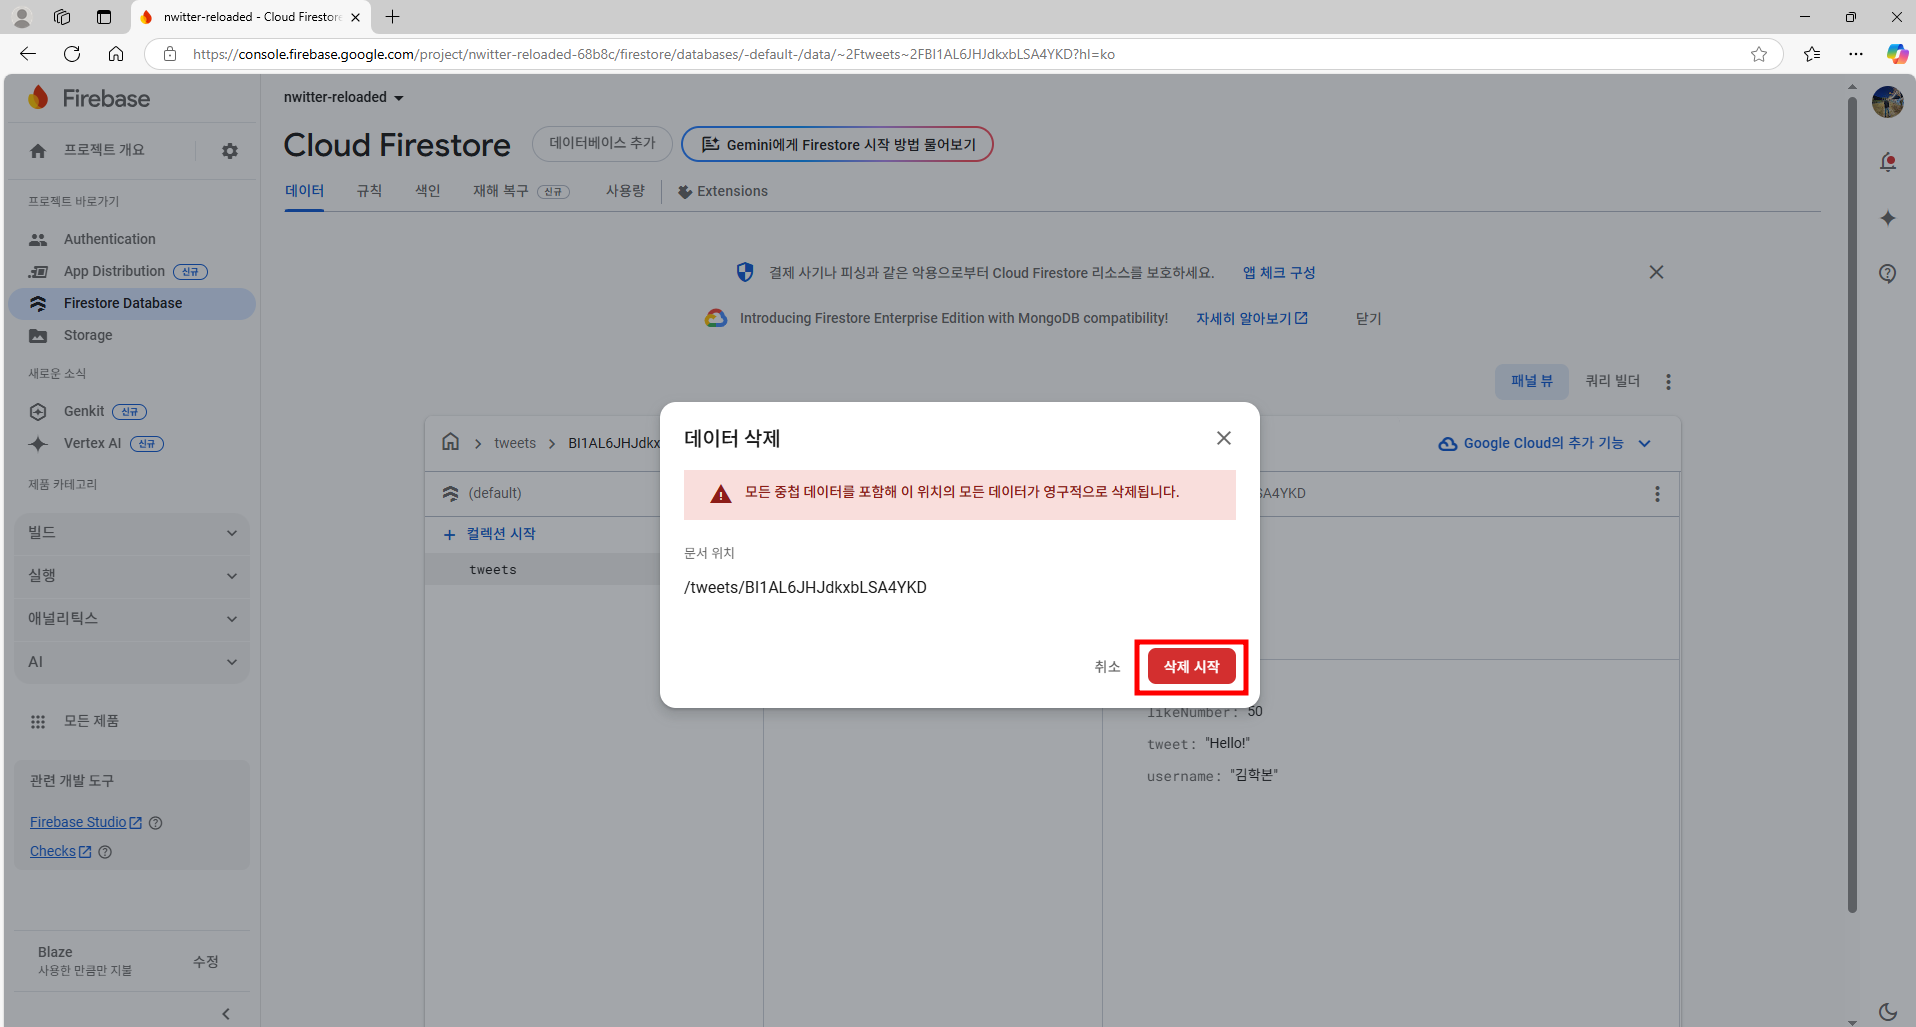
문서 삭제 시 남은 것은 빈 tweets Collecton만 보여진다.
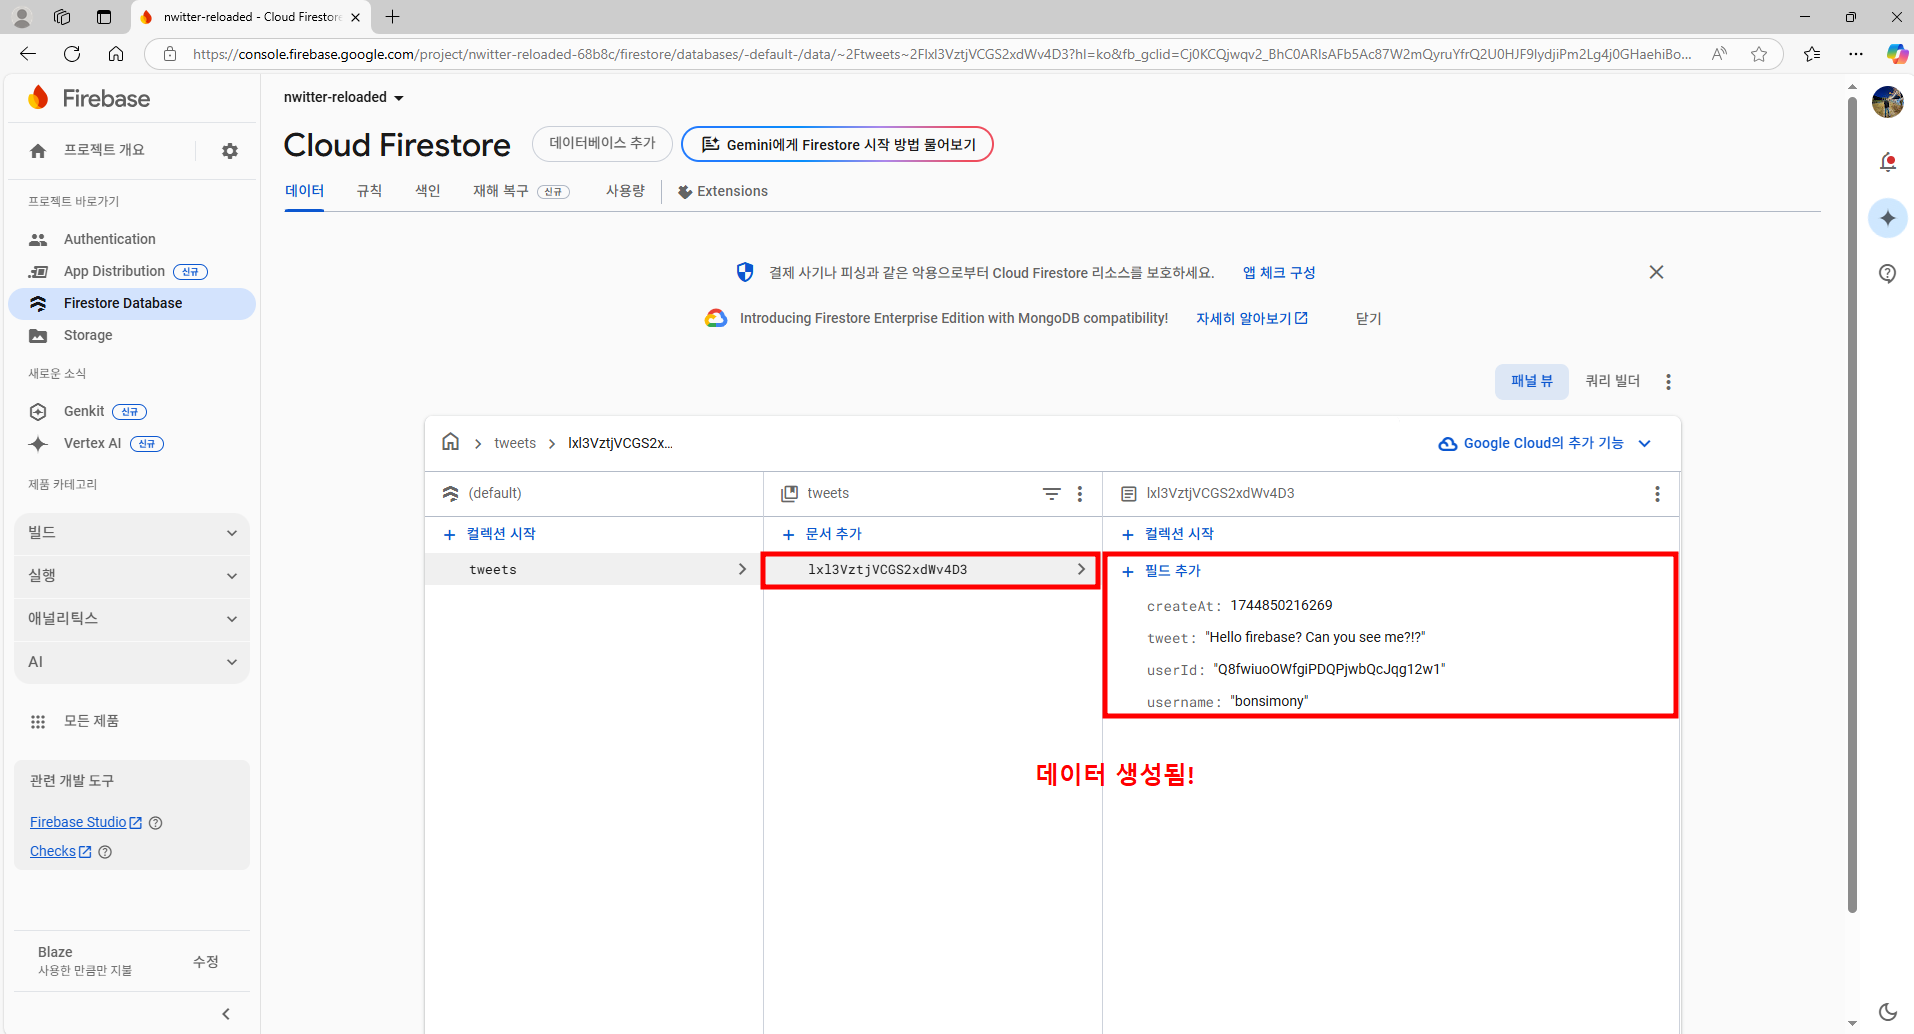
2.2. 리액트 앱 내부 코드로 데이터 추가
post-tweet-form.tsx
import { addDoc, collection } from "firebase/firestore";
import { useState } from "react";
import styled from "styled-components"
import { auth, db } from "../routes/firebase";
const Form = styled.form`
display: flex;
flex-direction: column;
gap: 10px;
`;
const TextArea = styled.textarea`
border: 2px solid white;
padding: 20px;
border-radius: 20px;
font-size: 16px;
color: white;
background-color: black;
width: 100%;
resize: none;
font-family: system-ui, -apple-system, BlinkMacSystemFont, "Segoe UI", Roboto,
Oxygen, Ubuntu, Cantarell, "Open Sans", "Helvetica Neue", sans-serif;
&::placeholder {
font-size: 16px;
}
&:focus {
outline: none;
border-color: #1d9bf0;
}
`;
const AttachFileButton = styled.label`
padding: 10px 0px;
color: #1d9bf0;
text-align: center;
border-radius: 20px;
border: 1px solid #1d9bf0;
font-size: 14px;
font-weight: 600;
cursor: pointer;
`;
const AttachFileInput = styled.input`
display: none;
`;
const SubmitBtn = styled.input`
background-color: #1d9bf0;
color: white;
border: none;
padding: 10px 0px;
border-radius: 20px;
font-size: 16px;
cursor: pointer;
&:hover,
&:active {
opacity: 0.9;
}
`;
export default function PostTweetForm(){
const [isLoading, setLoading] = useState(false);
const [tweet, setTweet] = useState("");
const [file, setFile] = useState<File|null>(null);
const onChange = (e : React.ChangeEvent<HTMLTextAreaElement>) => {
setTweet(e.target.value);
};
const onFileChange = (e: React.ChangeEvent<HTMLInputElement>) => {
const {files} = e.target;
if(files && files.length === 1){
setFile(files[0]);
}
};
const onSubmit = async (e:React.FormEvent<HTMLFormElement>) => {
e.preventDefault();
const user = auth.currentUser;
if(!user || tweet === "" || tweet.length > 180){
return;
}
try {
setLoading(true);
await addDoc(collection(db, "tweets"), {
tweet,
createAt : Date.now(),
username : user.displayName || "Anonymous",
userId : user.uid
});
} catch (e) {
console.log(e);
}finally{
setLoading(false);
}
};
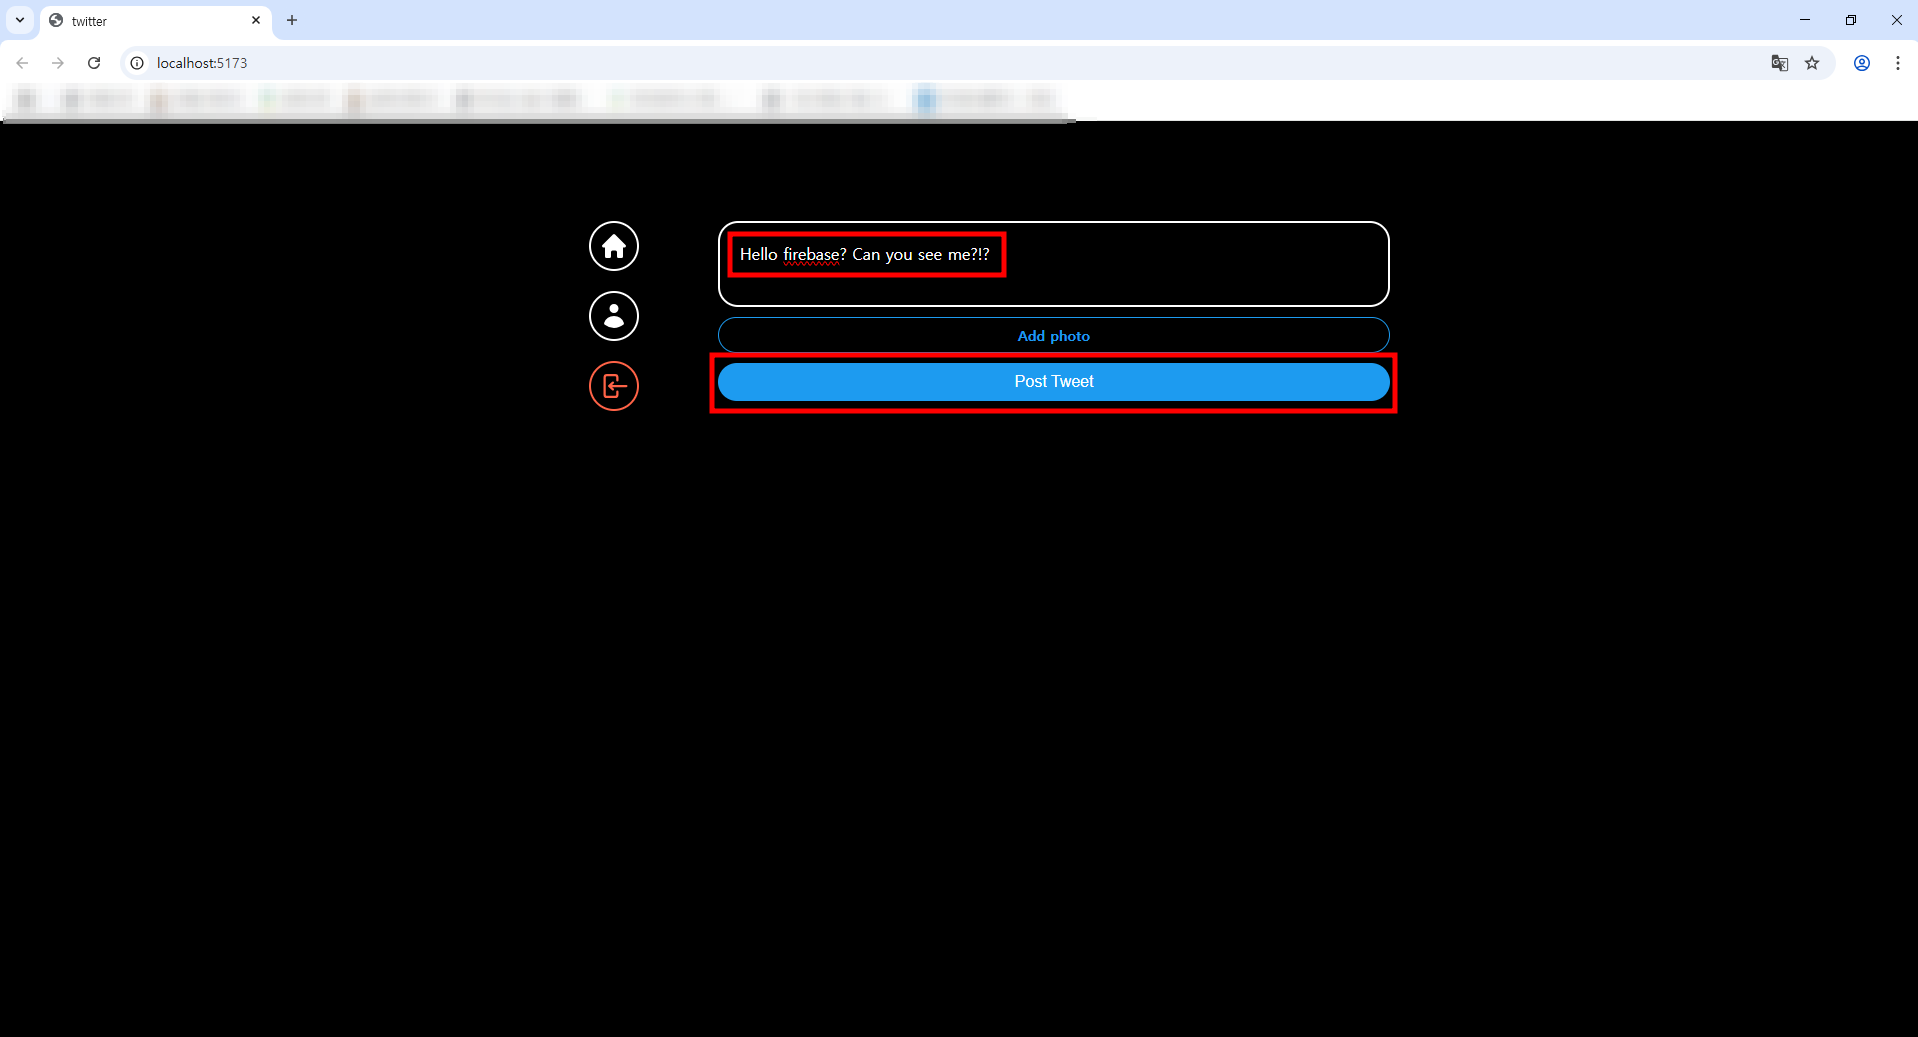
return <Form onSubmit={onSubmit}>
<TextArea onChange={onChange} value={tweet} placeholder="What is happening?"/>
<AttachFileButton htmlFor="file">{file ? "Photo added" : "Add photo"}</AttachFileButton>
<AttachFileInput onChange={onFileChange} type="file" id="file" accept="image/*"/>
<SubmitBtn type="submit" value={isLoading ? "Posting..." : "Post Tweet"}/>
</Form>
};

'트위터(React, TypeScript, Firebase, Vite)' 카테고리의 다른 글
| 16. TWEETING - Fetching Timeline (0) | 2025.04.17 |
|---|---|
| 15. TWEETING - Uploading Images (0) | 2025.04.17 |
| 13. TWEEING - Post Tweet Form (0) | 2025.04.15 |
| 12. TWEETING - Navigation Bar (0) | 2025.04.15 |
| 11. Authentication - Github Login (0) | 2025.04.15 |


